
24 Sep A Simple Guide to Replacing Kitchen Cabinet Hardware

This post is sponsored by Top Knobs.
Disclosure: Some of the links in this post are affiliate links. This means if you use them to make a purchase, Nestrs will earn a commission. Using the links is no extra cost to you; it only helps our small business! We want to share these products because we recommend them and stand by their quality. We got your back! 😉
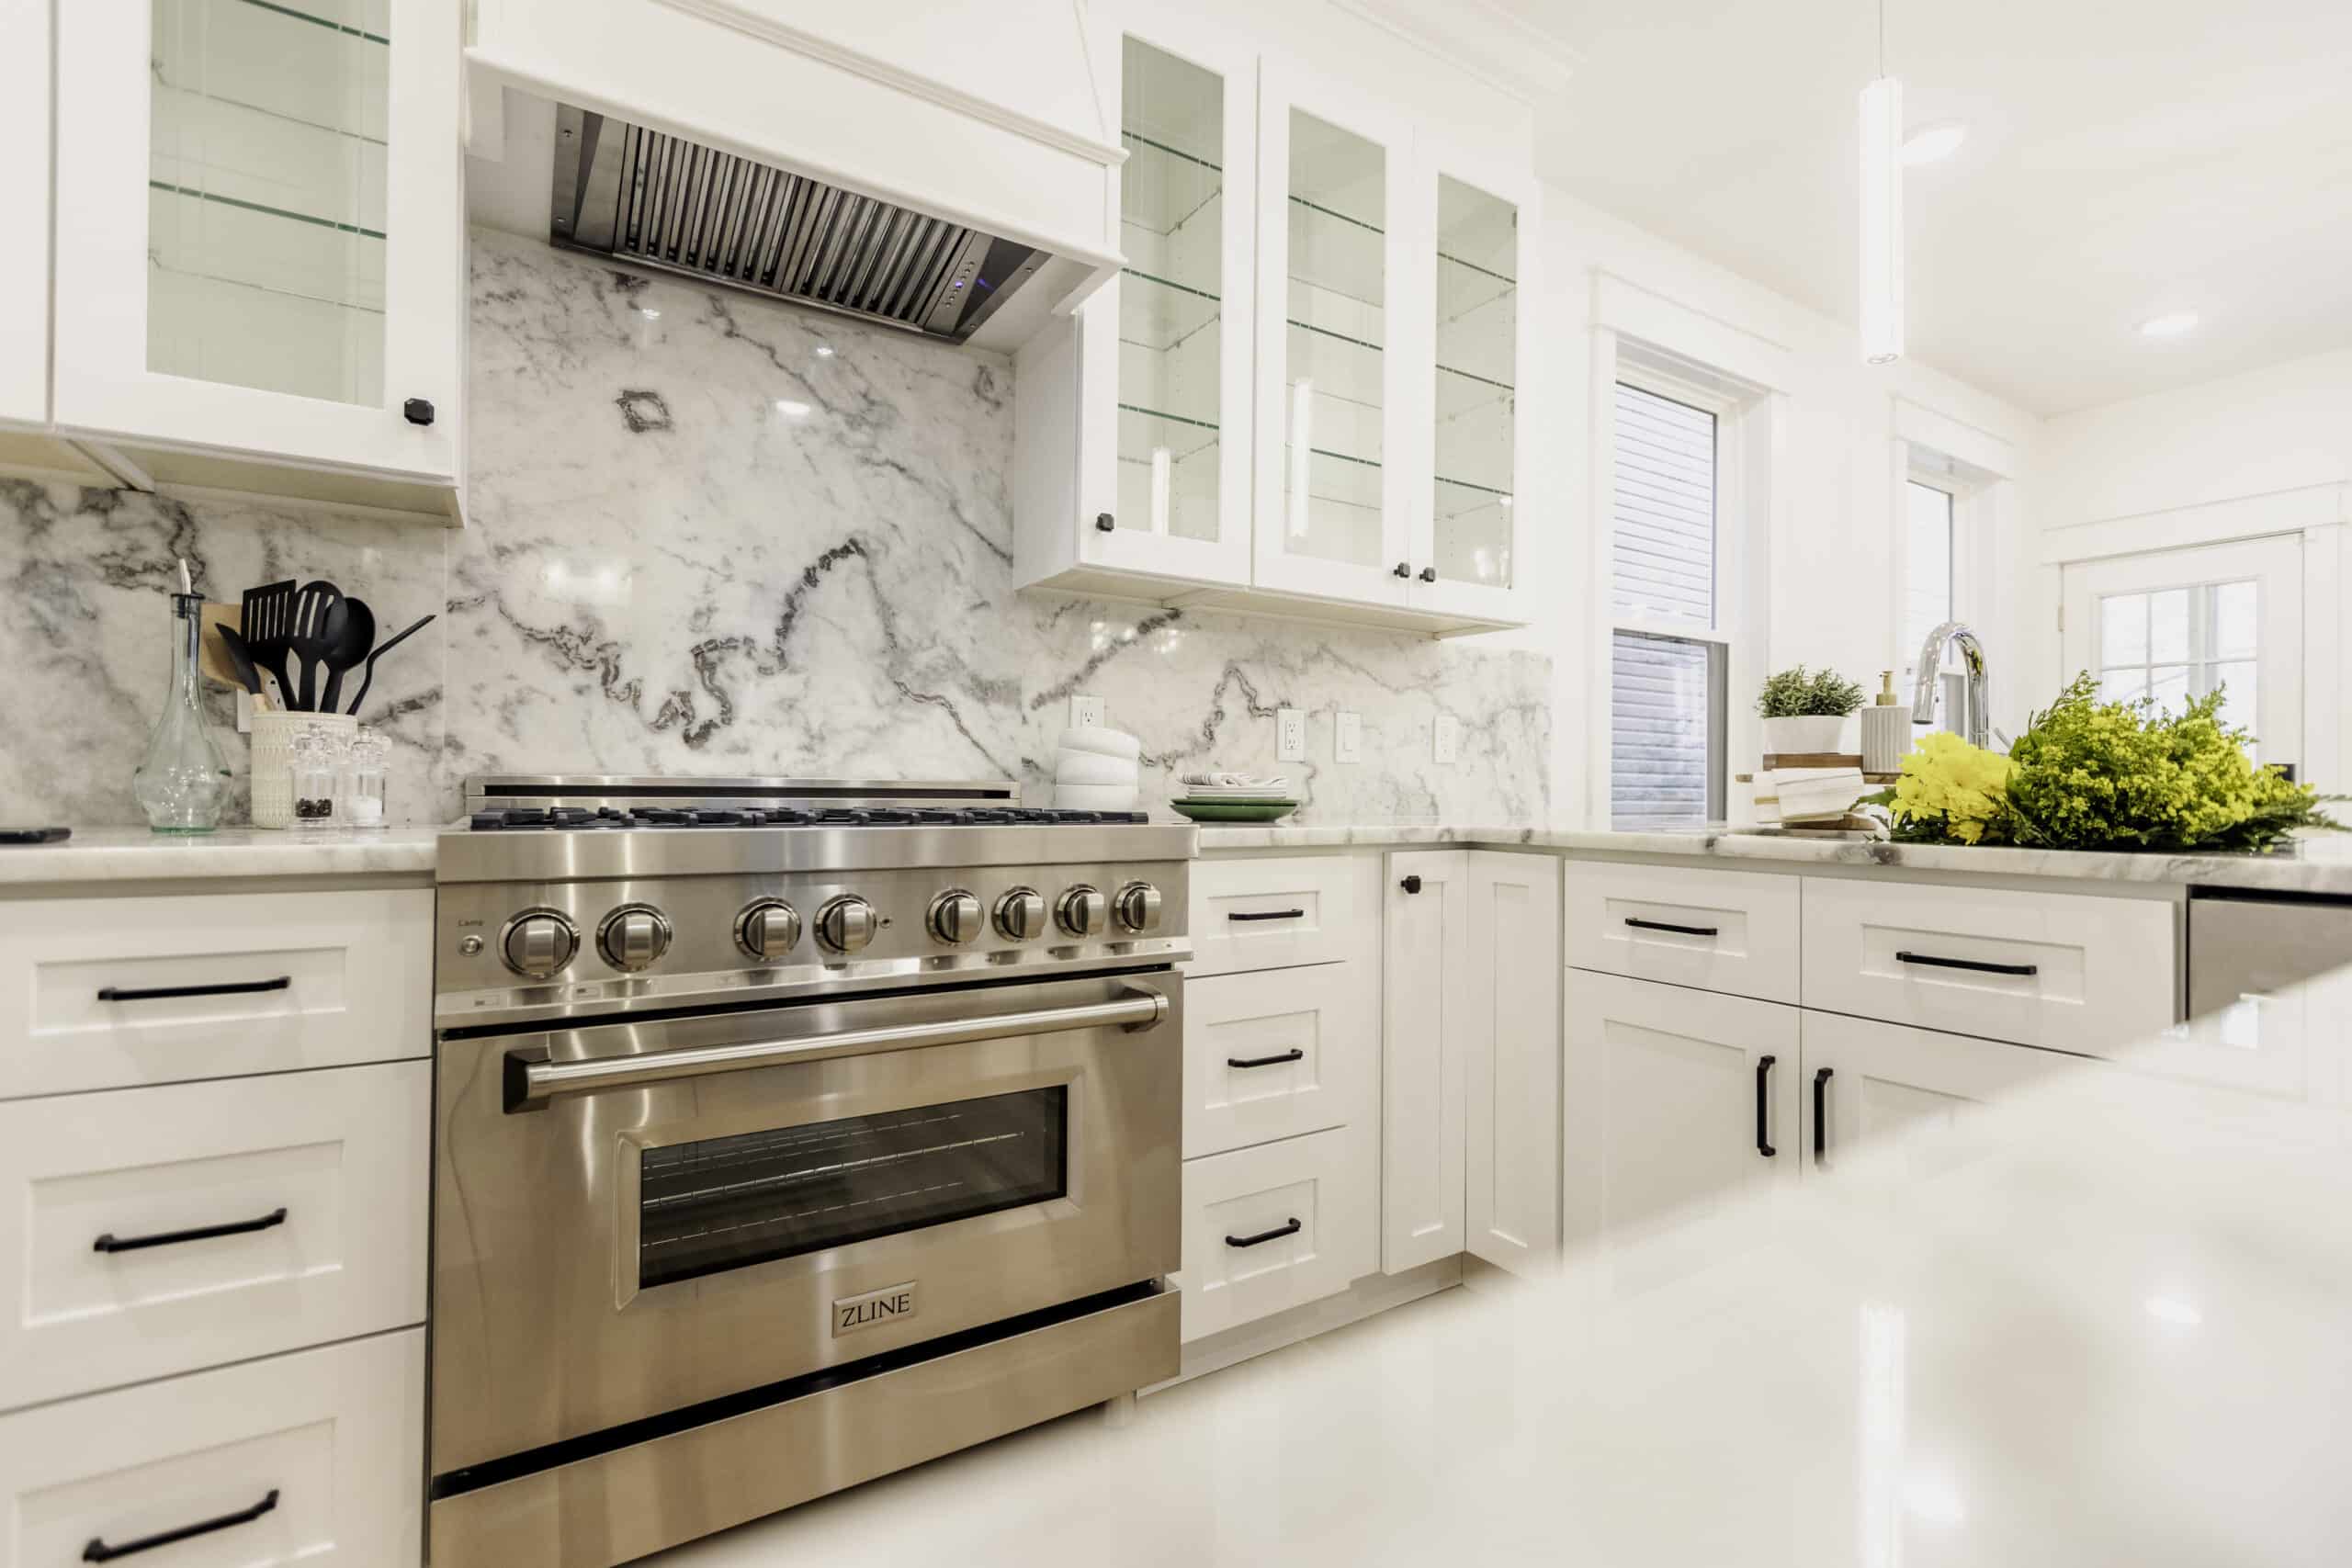
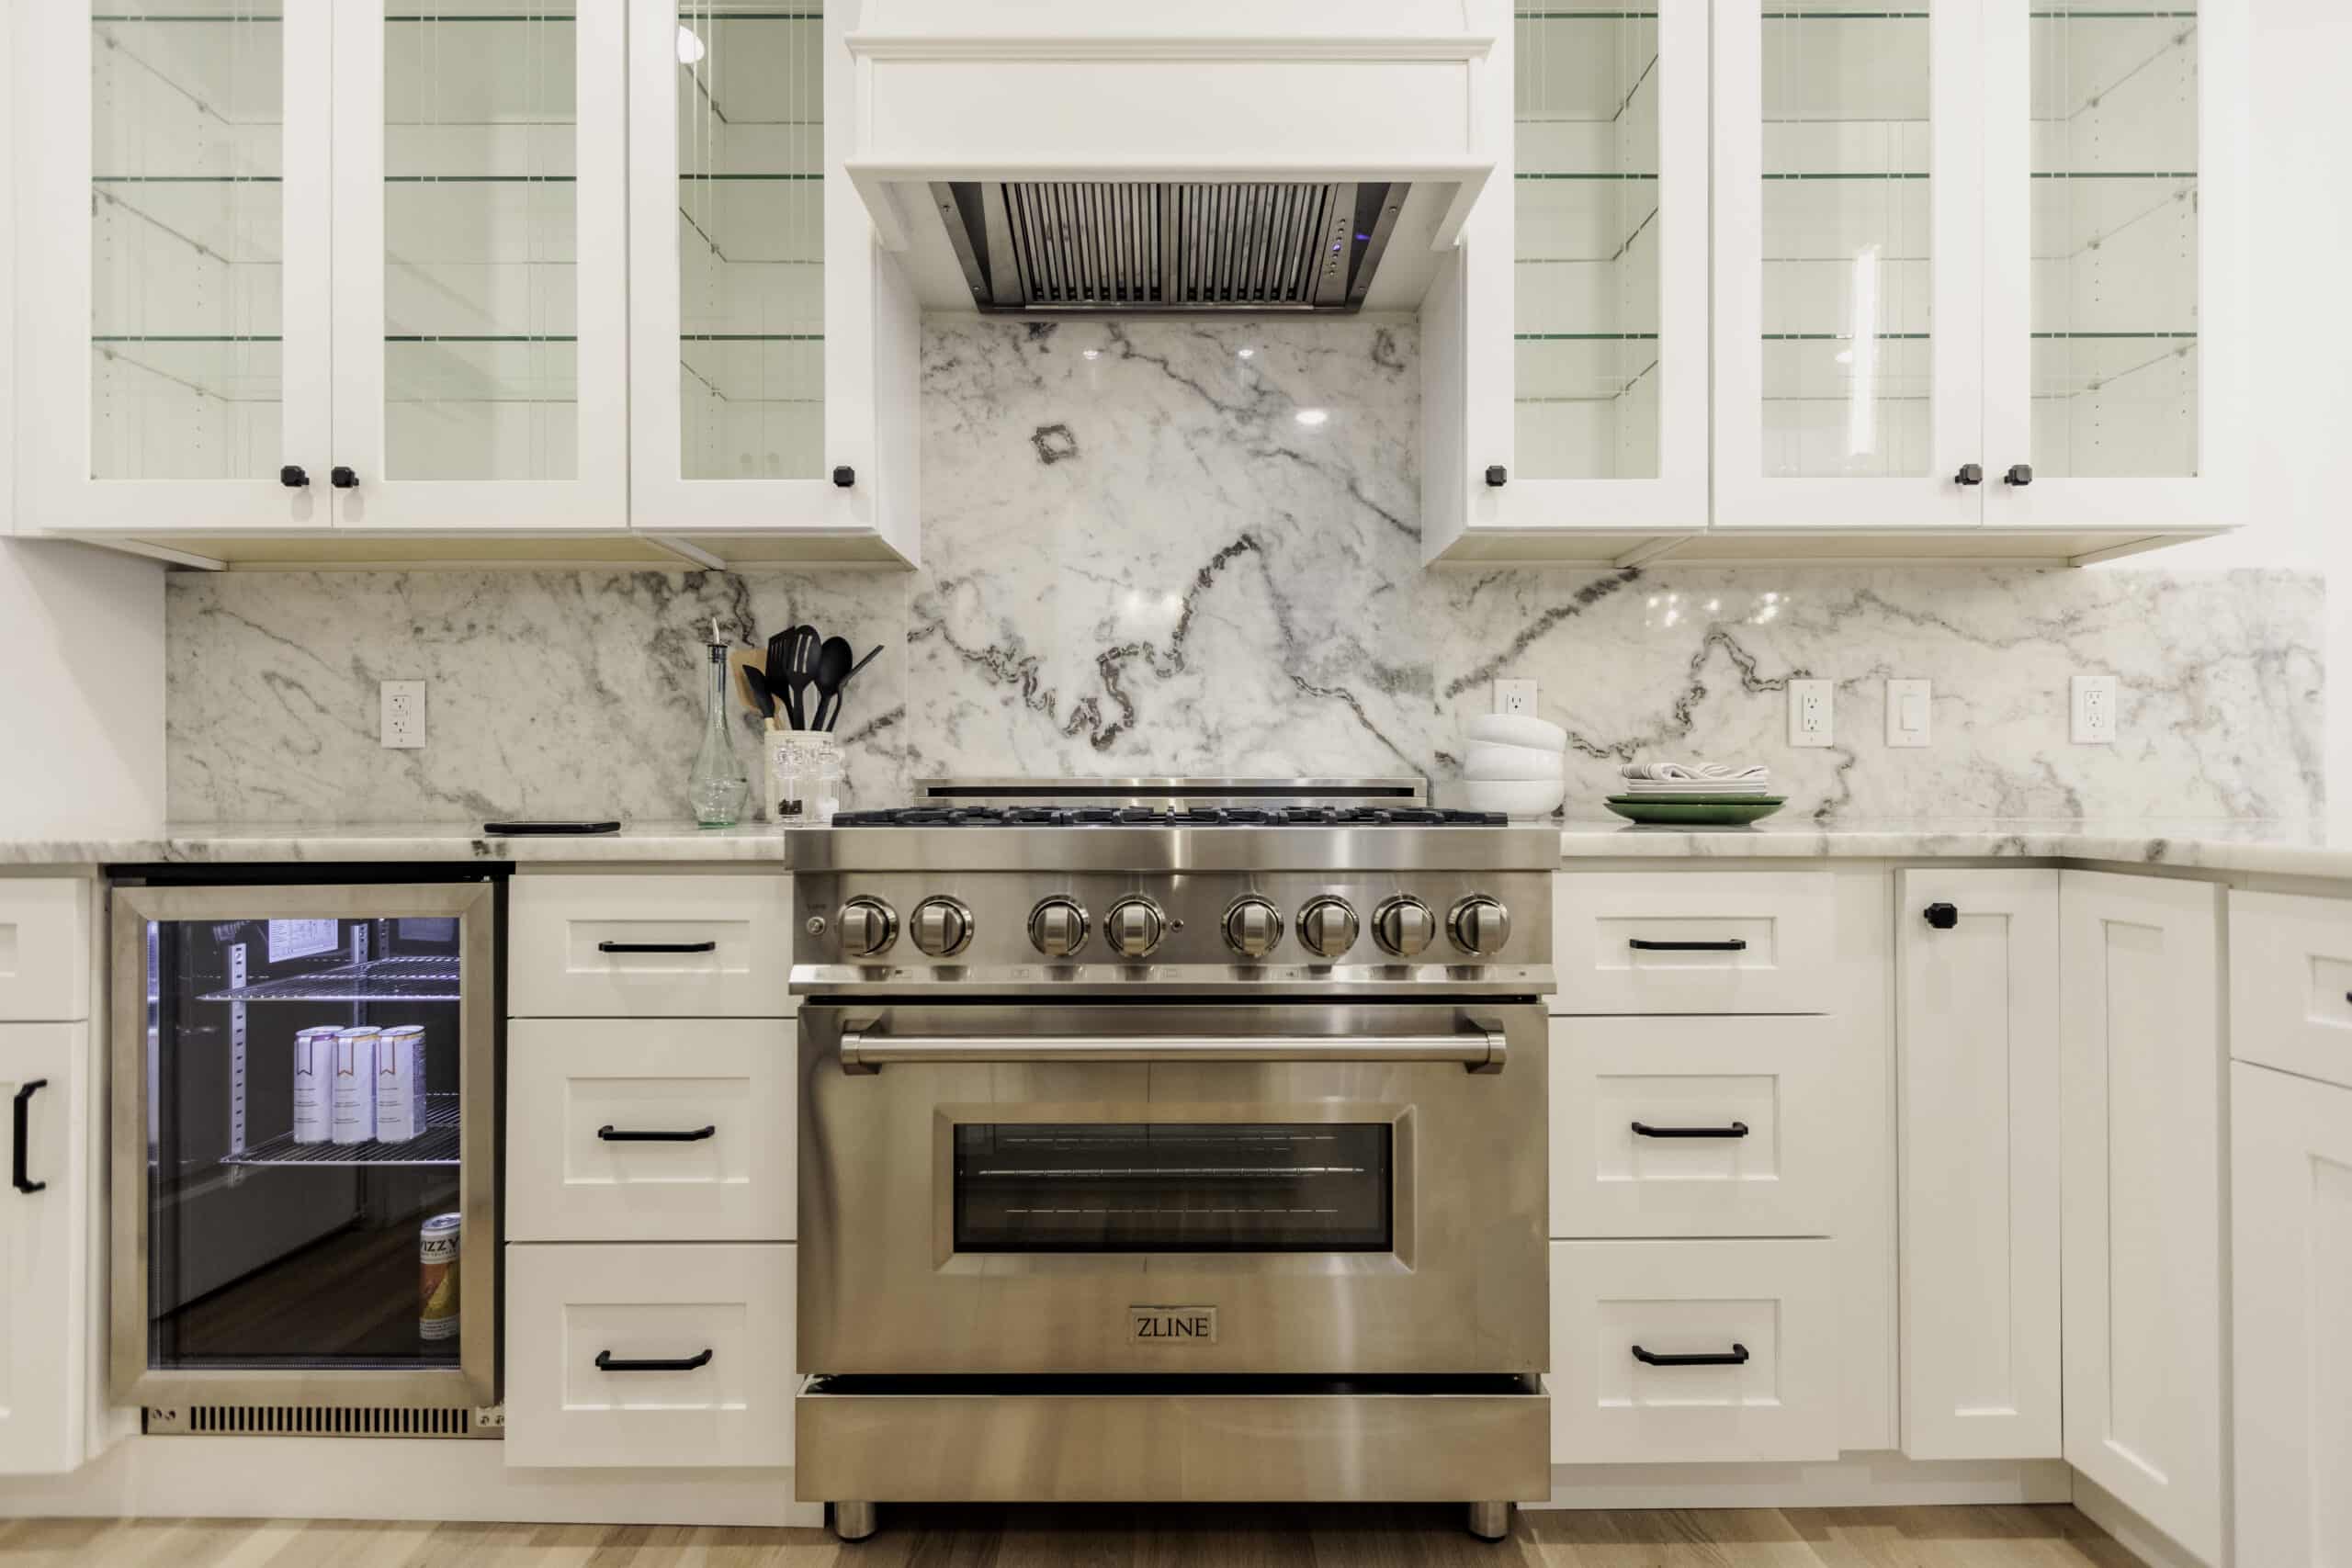
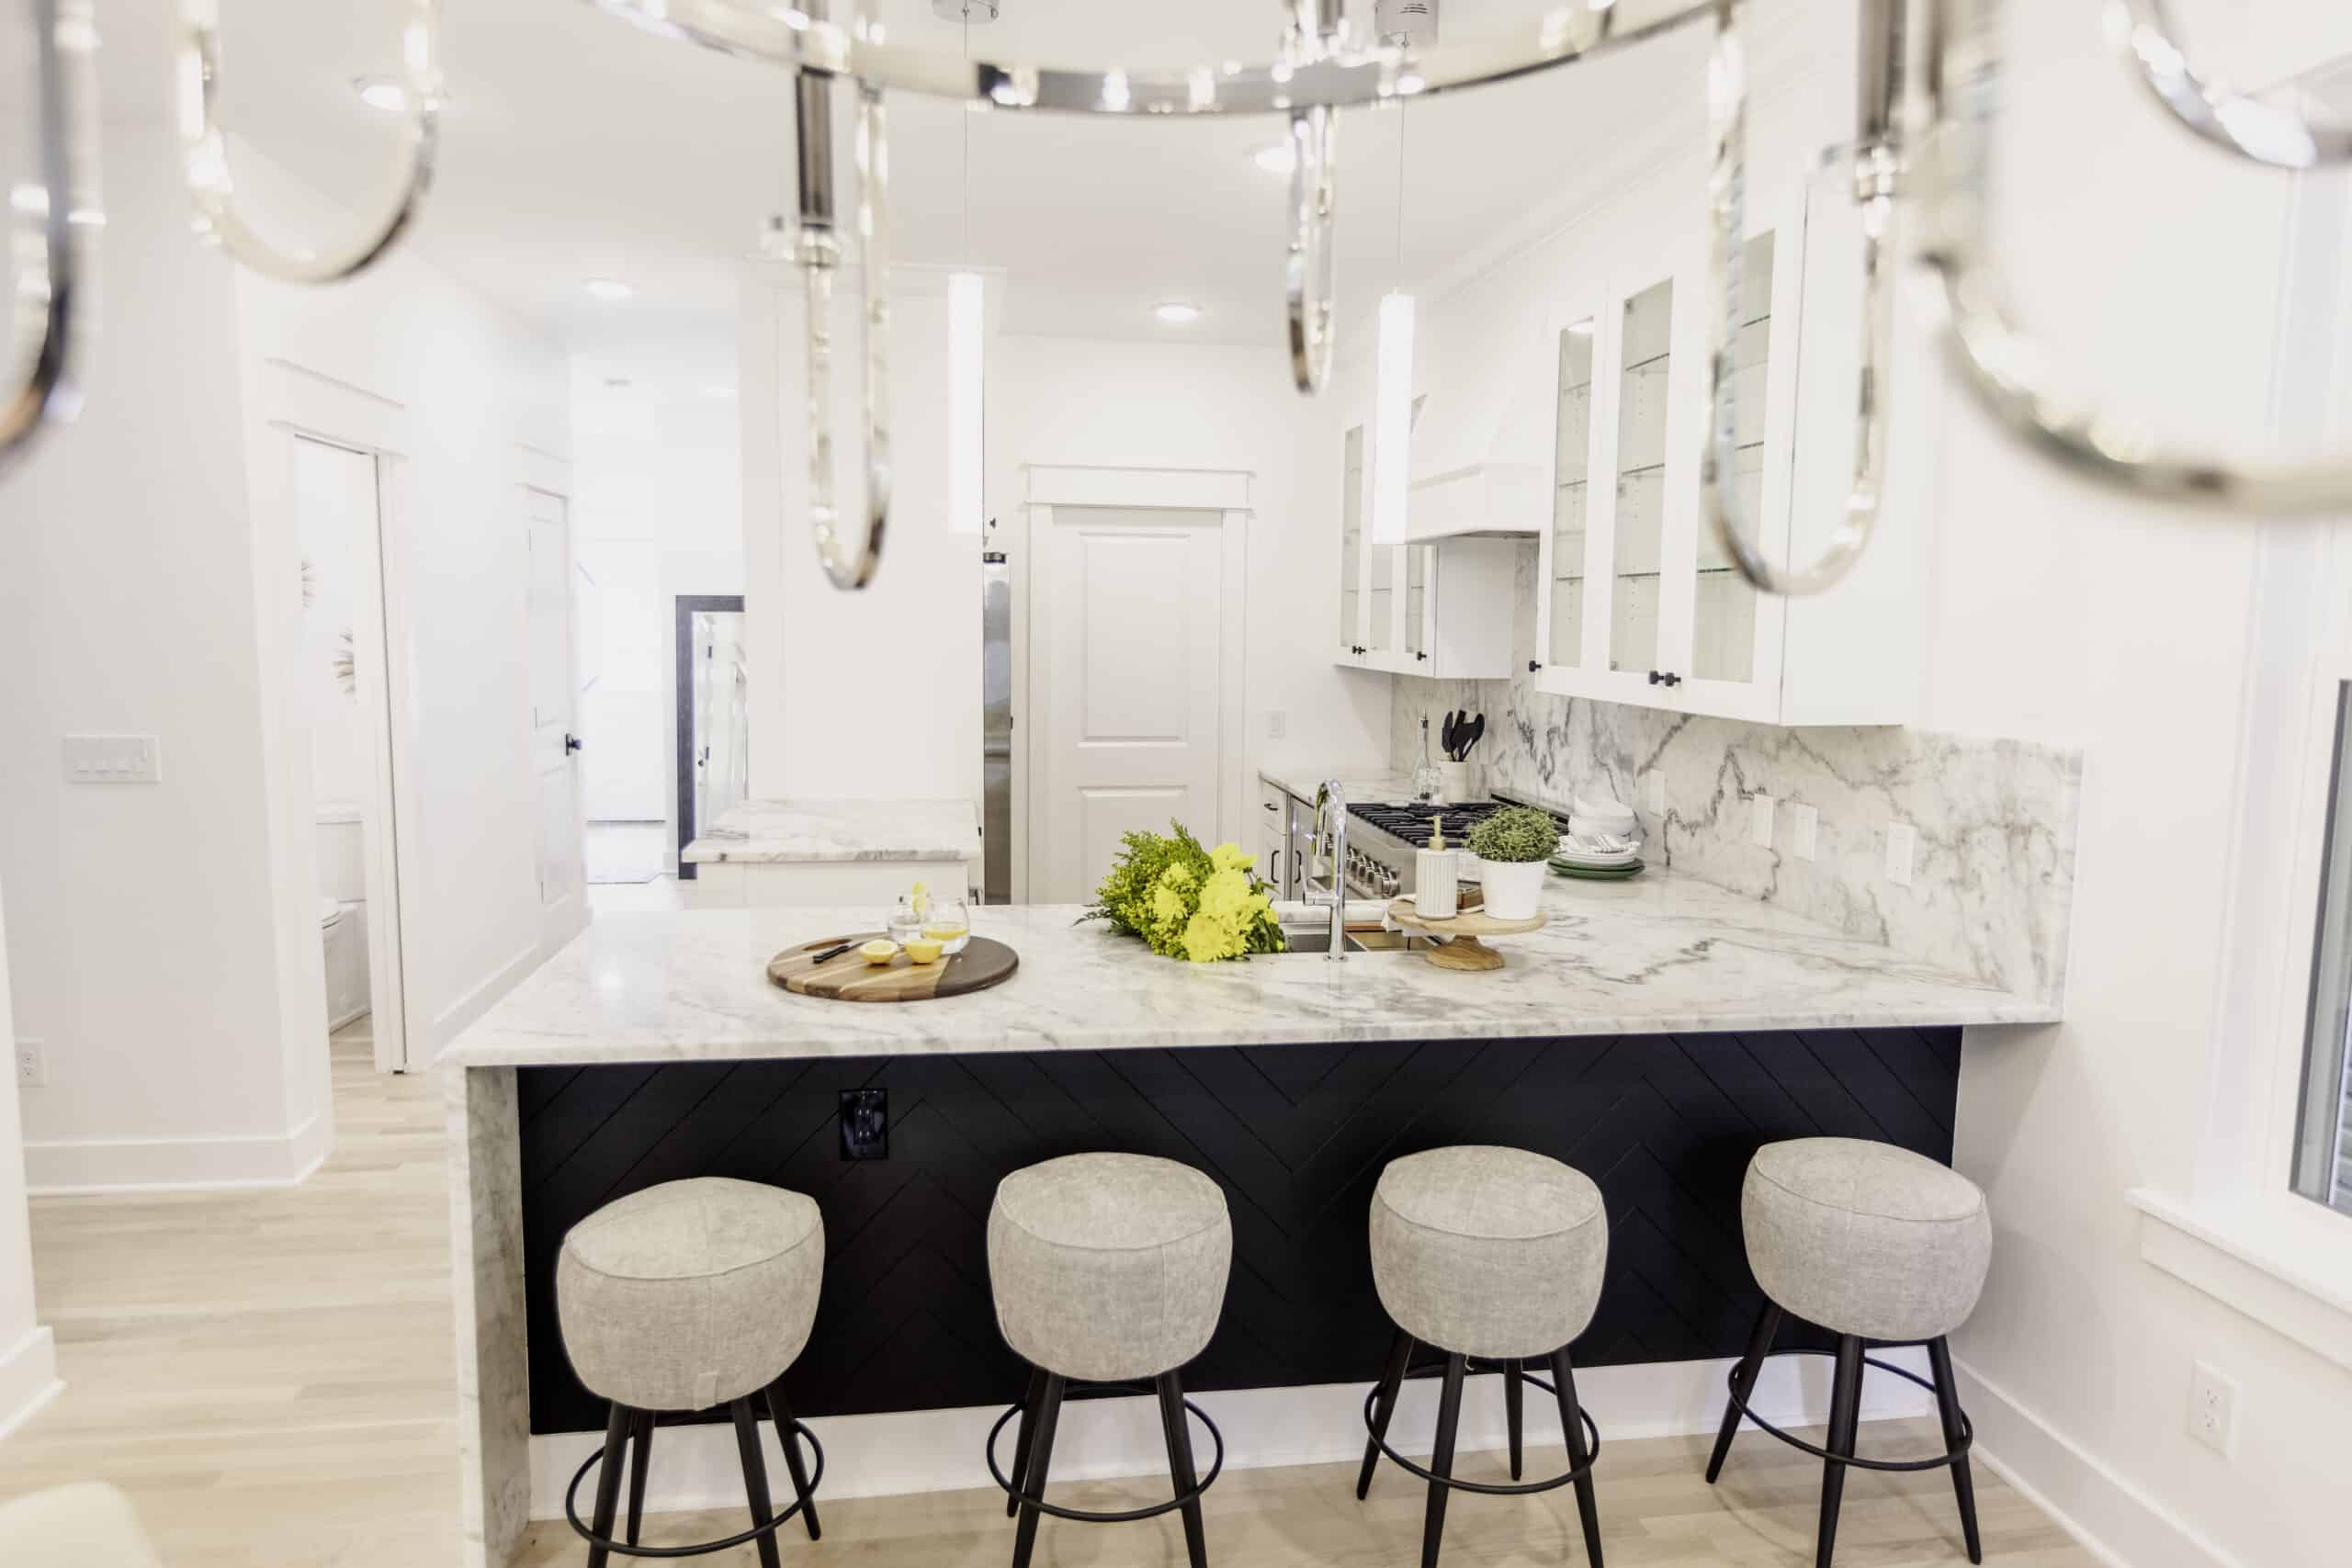
One of the easiest ways to update and revamp your kitchen is to replace the knobs, pulls, and handles. It’s pretty surprising how such a small change can make such a big impact, so if you’re looking to take the first step to modernize your kitchen, start with the cabinet hardware. We love the quality of Top Knob’s products and used their Davenport Knob 1 1/4″ in flat black and Davenport Pull 5 1/16″ in flat black.
Related: How to Select the Right Hardware for Your Kitchen Cabinets with Top Knobs

Buying Guide
When choosing cabinet hardware, it’s important to keep in mind what will complement and accentuate the colors, textures, and overall look of your space. Remember, kitchens are all about functionality, so while aesthetics are important, your kitchen has to operate as a functional space. Choose fixtures that marry aesthetics and functionality and be conscientious of their placement. Nobody wants to bump into a sharp fixture while they’re bustling about in the kitchen!
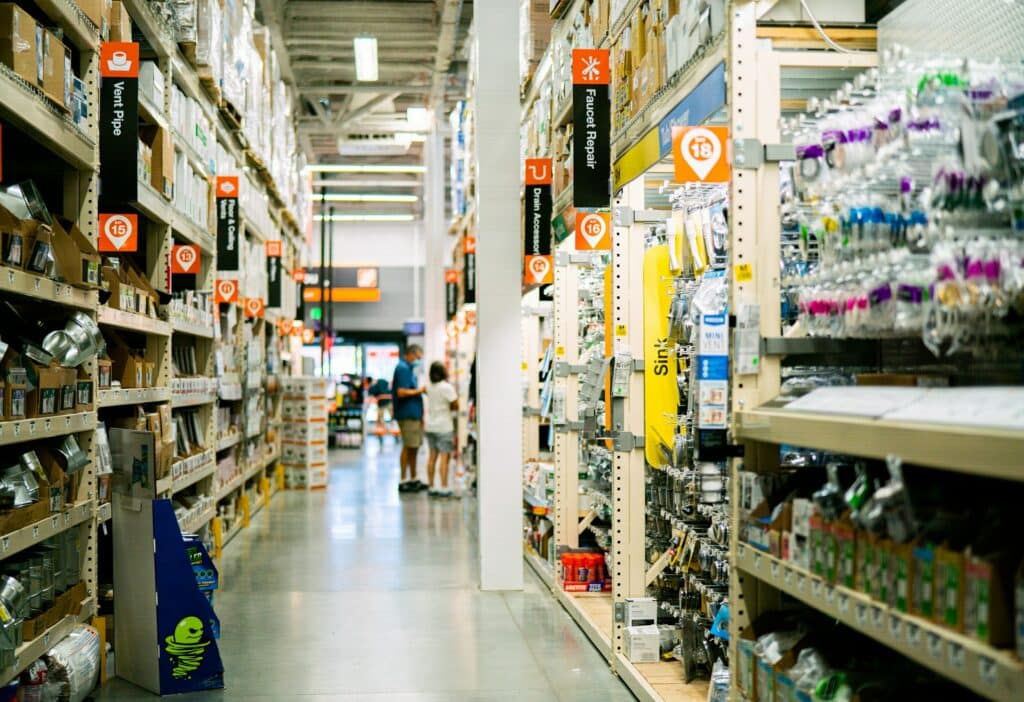
Supply List
- Cabinet knobs or handles
- Measuring tape
- Pencil
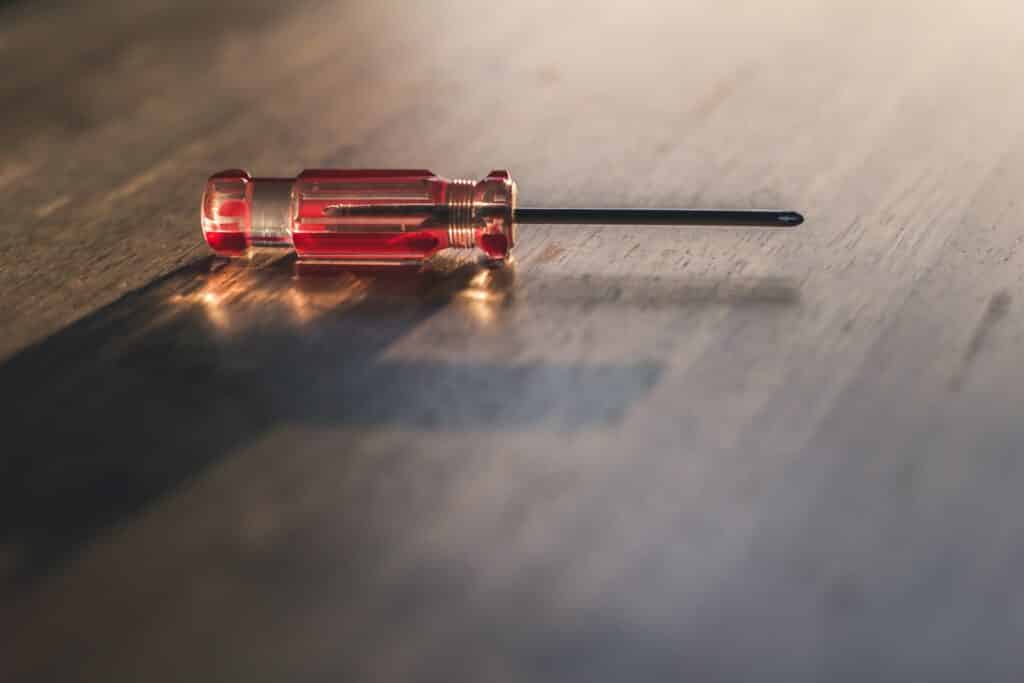
- Drill and drill bit
- Screwdriver
- Wood putty
- Putty knife
- Damp cloth
- Cabinet pull templates
Fill In Old Holes
First thing’s first: you have to remove your old hardware. Loosen the screws that hold your old hardware in place and fill the holes with wood putty. Wood putty typically comes in three shades, and you may have to mix all three to find the shade that best matches the color of your cabinets. Once you’ve mixed the colors to the right hue, take a pinch with your fingers and push it into the hole until it’s completely filled. Use the putty knife to compact and smooth the putty until it’s completely flush with the cabinet and wipe away any excess with a damp cloth.

Steps to Attaching the New Hardware
Once the old fixtures are removed and the holes are filled, it’s time to position and install the new ones.
Step 1: Find the Right Position for the Knobs or Handles
The general rule of thumb when adding knobs and handles to your kitchen cabinets is that base unit handles should always be towards the top, while overhead, wall-mounted cabinet handles should be toward the bottom to facilitate access.
To get started, divide the cabinet door into three horizontal parts: top, middle, and bottom. If you have several handles in a row, you have to make sure they’re all in the same position. When measuring, mark the position of each fixture and make sure they are aligned. For base cabinets (coming off the floor), position your fixtures in the top third, about 50mm from the edge of the door, opposite from the hinge. For overhead (wall mounted) cabinets, place the fixture in the bottom third, 50mm from the edge. For drawers, handles should be in the center, so use your measuring tape to find the horizontal and vertical center of the drawer—Mark these with a pencil.
Step 2: Drill the Hole(s)
Most fixtures will require a 3/16 inch drill bit. Open the cabinet door, find the pencil marks, and start drilling where you marked with the pencil. The cabinet door must be open to prevent drilling all the way through the cabinet.
Step 3: Screwing In Knobs
Once the holes have been drilled, it’s time to add the new fixtures! Push the screw into each hole from the back of the cabinet doors so that the pointy part faces outward. You might need a screwdriver to make sure they are tightly fixed in the holes. Next, take your fixture and position it so that the pointy end of the back screw fits into the cavity of the fixture. If you’re doing this with a handle, you will have to do this twice at both entry points. Tighten everything with a screwdriver, and voila! You’re done. Repeat these steps for all your other cabinets and drawers.
Related: Small Kitchen Remodel Tips & Tricks
What if the Pulls Don’t Fit (even though I measured)?
Don’t panic! It happens. We are only human, after all. If you’re off by a hair (or maybe a few millimeters) in any direction, use your drill to angle the hole so the screw can move enough to line with the fixture.
Do you love home renovation? Explore some of our resources to learn how to transform your home. Visit Nestrs today.

Tips for Replacing Kitchen Cabinet Hardware
When replacing your kitchen cabinet hardware, here are a few helpful tips and tricks of the trade to make this DIY project go a little bit smoother
Temporarily attach the hardware
If you’re unsure where you want the knobs or pulls, or if you want to test out the look of the fixtures, add some reusable putty to the back of the hardware and try out different spots on the cabinet. When you’ve figured out what the best spot is, mark it with a pencil.
Let the door rail guide you
If you’re having trouble figuring out the best location for your knobs or pulls, an excellent method is to line up a knob with upper edge of the bottom door rail. Then, line up the bottom of the pull with the top of the door rail.
Use a template
To make the job go faster, use a template when installing your cabinet hardware. Not only will it save you some time, but it will also help maintain uniformity throughout and reduce the chances of error or being a little off in the measurements.

Cover unused holes in the template
If you decide to use a template, keep in mind that most templates, both store-bought and homemade, have many holes in them. Cover the holes you aren’t using with masking tape to avoid getting confused or poking through the wrong hole.
Superglue your knobs
Some knobs that fasten with a single screw tend to twist over time, and while thread sealant can keep the screw from coming loose, it won’t stop it from twisting. Superglue, however, will. To prevent twisting, add a drop of superglue to these kinds of knobs before installing them.
Make your own drawer template
Don’t have a template? Don’t have time to rush out to the store to get one? Make your own! It only takes a few minutes. Grab a piece of scrap wood and your measuring tape and mark and drill holes that will line up with where you want to install your fixtures.

Prevent tear-out with two-sided templates
Sometimes the wood on the back of the cabinet doors will tear out every time you drill a hole. To prevent this from happening, make a two-sided template, and make sure the spacer wood is close to the same size as the cabinet doors. The likelihood of tear-out decreases when your spacer wood matches the size of the doors.
Mix putty to match
Mixing putty was already mentioned earlier in the article. It would be redundant to restate it here. – writers note
Attach hardware higher on the lowest drawer
If you’re working on a section of cabinets that has a few drawers of the same size but with one larger one at the bottom, install the bottom fixture higher than the center of that drawer, and then space the remaining knobs on that cabinet evenly. Not only is it easier on you (you won’t have to bend down as much to open the bottom drawer), but it’s aesthetically pleasing too.
Keep screws tight with thread sealant
Since screws loosen over time, add some thread sealant to each of the screws of the fixtures you install!
Related: The Best Kitchen Ceiling Light Fixtures For Your Home


The Last Word on Kitchen Cabinet Hardware Replacement
Sometimes a home improvement or remodeling project can be more rewarding when we do it ourselves rather than hire someone. Luckily, replacing cabinet hardware is a relatively easy project, even for beginners. With this simple guide, you can be well on your way to transforming your kitchen!
Still, have questions about how to modernize your home? Contact the home experts at Nestrs.
No Comments