29 Oct How to Master the Skill of Removing Paint from Wood with 8 Easy Steps

We talk a lot about how the easiest way to rejuvenate a room completely is by adding a fresh coat of paint. But if you think about it, all paint becomes old paint eventually, and in many cases, that old paint should be stripped before repainting. Reasons for stripping paint include cracks and blisters, uneven wear, and switching from a solid color to a transparent or semi-transparent stain, and more. Regardless of your reasoning, removing paint from walls is pretty labor-intensive and time-consuming, which is why many DIY-ers avoid it, but despite that, it’s incredibly satisfying. There’s nothing like starting with the blank canvas of a smooth, fresh wooden surface, and this guide will show you how!
Related: How to Touch Up Paint on Walls: A Simple Guide
Decide if the Wood is Worth Exposing
Before you strip old paint off your walls, furniture, flooring, or cabinets, you have to make sure you’ll be able to work with the wood under the paint. Wood can become rotted and worn, especially if it hasn’t been properly maintained, and stripping it won’t leave you anything left to paint. To ensure the wood is in good shape, look for signs of dry rot (a musty or damp smell, spore dust on the wood, and fungus), wet rot (spongy wood, shrinkage, or warping), cracks or holes in the wood, or wood coming loose.
Find a hidden spot (like the inside of a drawer or closet), and use a scraper to shave a small “test” patch through the paint layers to the wood underneath to see if it has been previously varnished.
Make Sure the Paint Doesn’t Contain Lead

Any house built before 1978 is more likely to have had lead-based paint, the dust of which is incredibly toxic, especially for children. Before you start stripping and risking lead paint dust getting into the air, test it. Grab an inexpensive at-home DIY lead test kit and follow the instructions. If the paint tests positive for lead, you should follow the EPA’s guidelines on how to safely remove it (heads up… this might involve hiring a qualified professional to do the job!).
Gather the Right Materials
No job can begin without the right tools! First, you’ll need to decide on what brand of chemical paint stripper you prefer. Other accessories you’ll need include:
- Paintbrushes (to apply the paint stripper).
- Cloths or rags.
- Scrapers or sandpaper for paint removal.
Safety should always be your #1 priority, and you should never under any circumstances perform any project without safety gear and a proper understanding of safety measures. Make sure you have protective equipment like masks, gloves, and safety glasses.
There are several methods to strip old paint from wood, and it’s crucial that you compare them before deciding which one is right for you. Alternatives to chemical stripping include heat guns and sanders. A heat gun works by using heated air to make the paint loosen, bubble, and blister, which can then be removed with a metal scraper. When using a heat gun, you’ll need heat-resistant gloves and long sleeves. Always keep a fire extinguisher nearby, and don’t leave it unattended!
Sanding is another effective way to remove old paint, especially on flat surfaces, but it should be carefully done to not damage the wood. Sand with the grain of the wood, and always wear a mask and safety goggles when sanding.
Related: Board and Batten Bathroom: What You Need to Know
Remove Protruding Nails and Screws
Before you start stripping, remove all hardware from the wood. This includes nails, screws, brackets, and knobs. Anything non-removable made of materials that are not wood can be covered with protective tape.
Do you have a space you want to make beautiful? We’re passionate experts of this very thing! Learn about home improvement, interior design, and short-term rentals by checking out Nestrs today!
Choose a Paint Stripping Option
There’s a wide variety of paint strippers, both chemical and eco-friendly, in liquid, gel, or paste format. Using a chemical stripper means no dust or chips, and it’s easier to get those awkward spots or hard-to-reach spots that you might miss with other methods. If you want to avoid the harsh and potentially dangerous chemicals, opt for a soy gel or citrus-based stripper. Vinegar works too, but it will only soften the paint, not remove it entirely.
Tip: if you’re removing paint from a vertical service, try a stripper that comes in a gel or paste. It won’t drip as much as a liquid and potentially damage your floor.
Apply Paint Stripper

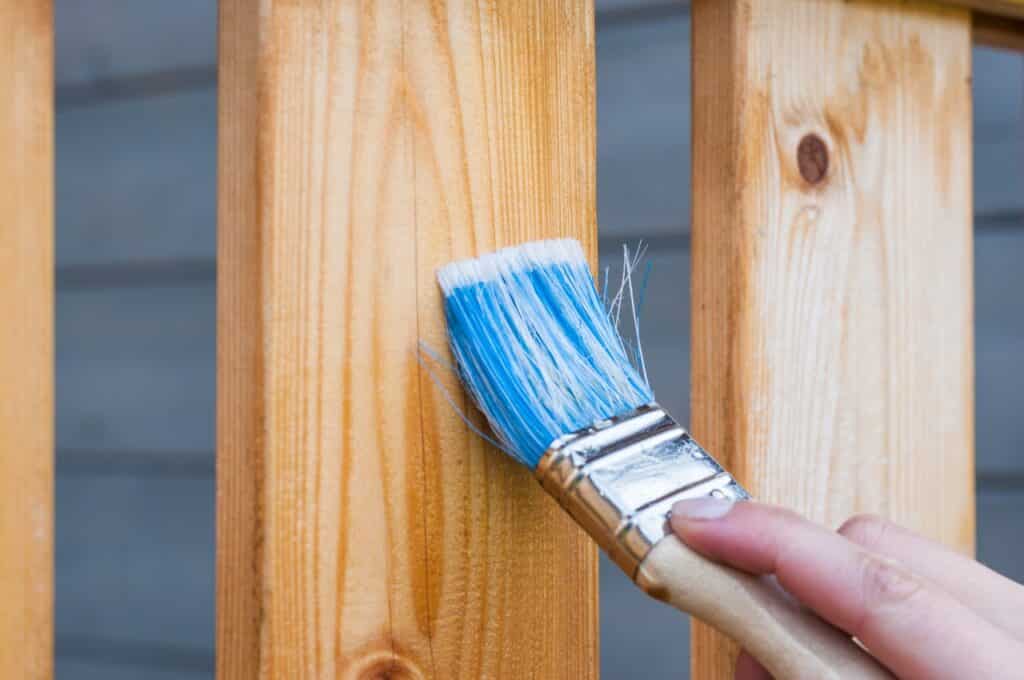
Before applying your paint stripper, put on your safety gear (gloves, mask or respirator, and goggles), read the manufacturer’s instructions, prepare your space by protecting your floors and taping edges, and pour your paint stripper into a shallow container. Dip your brush and generously start applying the paint stripper to the surface and concentrate on doing one section at a time. Leave it on for 20 minutes, or until you see the paint begin to bubble and peel. If you’re removing several layers at a time, you’ll need to leave it on for longer. It’s essential to scrape off any paint you have stripped on the same day you applied the paint stripper. Once it dries, it will be tough to remove, so keep an eye on it throughout the day!
Remove the Paint With a Paint Scraper
Once the paint has started to bubble and peel, use your scraper to scrape it off. Don’t be too forceful; you don’t want to ruin the wood beneath. If the paint isn’t coming up easily, let it sit for a while longer and try again. Once you’ve done all you can with the scraper, repeat the process until you’re satisfied with how the area looks.
Wash and Sand the Wood
Your job isn’t done when all the paint is off. Don’t skip this last, crucial step! Wash the wood with a clean, wet rag or cloth before sanding it. Big, flat sections can be sanded with a power sander, while smaller, curved or detailed sections should be done by hand with sandpaper. Once you’re done sanding, wipe down the wood again with a damp cloth to remove any sanded particles. Pay attention to how the wood feels when you’re wiping it. The surface shouldn’t be so rough that it feels like the cloth is catching on splinters, but it shouldn’t feel too smooth either.
Related: How to Get Rid of Textured Walls
That’s It!

Stripping paint off surfaces is a job anyone can do as long as they have the right tools and knowledge to safely and adequately use them. It takes a lot of patience, time, and careful, concerted effort, but it’s worth it in the end.
Are you considering any DIY home improvements? You came to the right place! We’re the experts at creating a beautiful home and wonderful living spaces. Check out our resources at Nestrs today.

No Comments