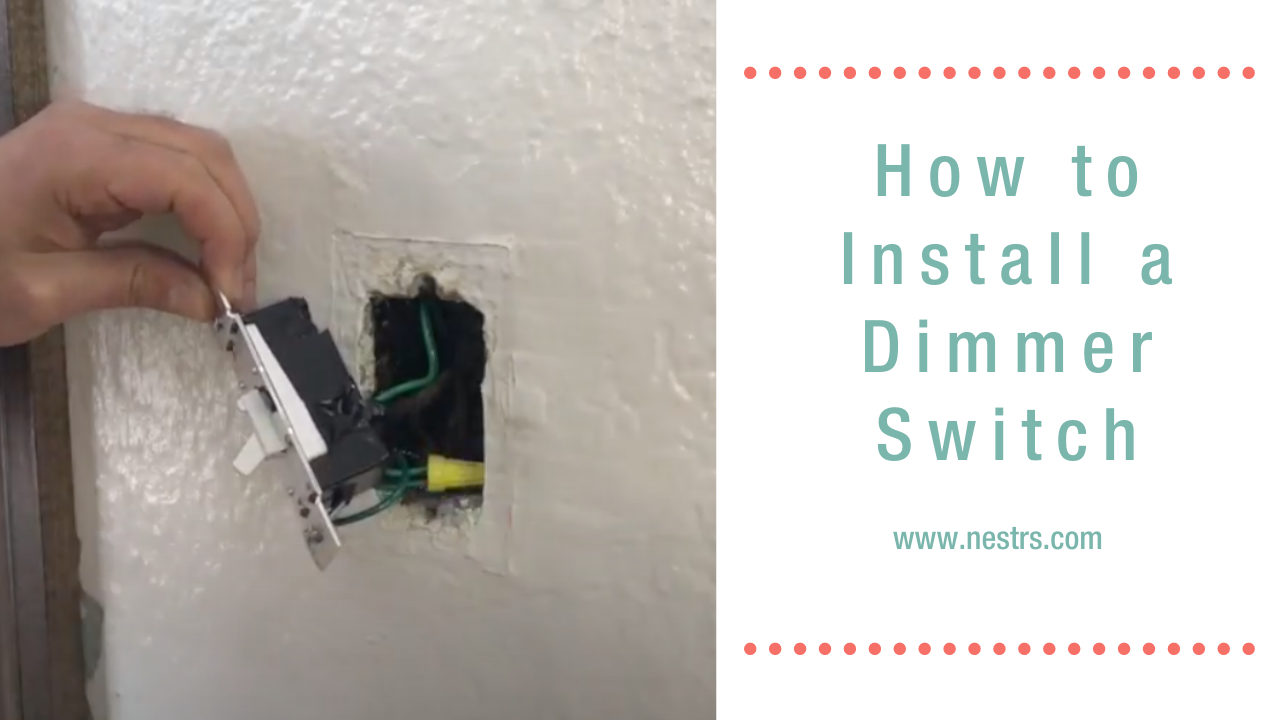
04 May How to Install a Dimmer Switch
Setting the mood in your home is as easy as swapping out your regular light switch for a dimmer switch. We’re here to show you how! As long as you have access to your electrical panel, you can do this DIY project. (Even if you’re in a rental.) Whoo hoo!
WHAT IS A DIMMER SWITCH?
A dimmer switch is a special type of switch that you can install that allows you to control the brightness of a light bulb.
Usually when you switch a light on the bulb turns on to it’s full brightness -you cannot adjust how bright it is.
With a dimmer switch, there is a toggle slider next to the switch itself where you can toggle the slider and control just how bright the light bulb gets and then you can leave the toggle in whatever position you choose to achieve whatever brightness you want.
Related: How To Finish Drywall For Beginners
WHAT DO YOU NEED A DIMMER SWITCH FOR?
Dimmer switches, is essence, help you achieve the kind of atmosphere you want. When we flip houses or are getting an Airbnb or long-term rental ready we like to consider dimmer switches upgrades and install them in most rooms throughout the home. For example, dimmer switches are great to have in the bedroom, bathroom, and living room -but we’ve also been known for installing them in the kitchen as well. The only place where we don’t really install them is in hallways or closets.
Set the Mood
Dimmer switches are great for setting the mood. 😏
Perhaps it has been a long day at work and you want to relax in your living room. To have the overhead light or the lamp next to you at a blaring brightness might not be the most relaxing thing in the world -so you would dim those light to make the light around you ‘cozier’. (If you want more info on how to choose the best lighting for your home, check out this blog post we did here.)
Help the Environment
Dimmer switches also save on energy and your energy costs -but it wasn’t’ always that way.
In their infancy, dimmer switches used to limit the amount of electricity that went to the light bulb and then converted the rest of the energy into heat. This wasn’t very efficient or safe and definitely didn’t save on energy.
However, thanks to technological advancements, dimmer have the ability to save on the energy your bulb produces and save you money.
AND sets the mood.
Win-win!
Need advice on installation, repairs, and designs? Check out what Nestrs have to offer
HOW DOES A DIMMER SWITCH WORK?
 Ok. While dimmer switches can save you money and set the mood, how fun would it be to understand exactly how they work?!
You can impress that uncle of yours who always seems to know-it-all at the next family gathering.
Ok- so- modern dimmer switches use a transistor like device that quickly shuts the light circuit on and off to reduce the total amount of energy flowing through the circuit.
Whew…got all that?
The light bulb circuit is switched off and on many many times every second!
The knob or slider you see on the dimmer switch -and what you use to control how bright the bulb is- is also a variable resistor but it’s just used in this case as a signal to move the turn-on point. A modern dimmer switch is more than 99% efficient!
WHAT YOU NEED TO ROCK THIS OUT
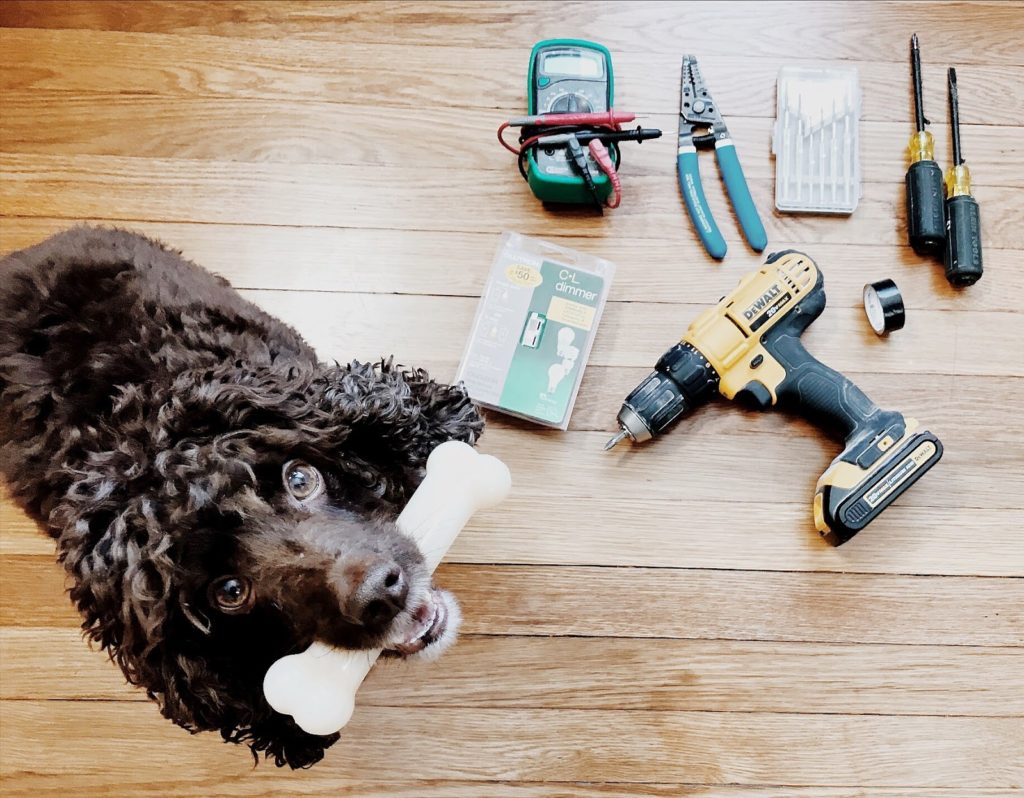
Processed with VSCO with m5 preset
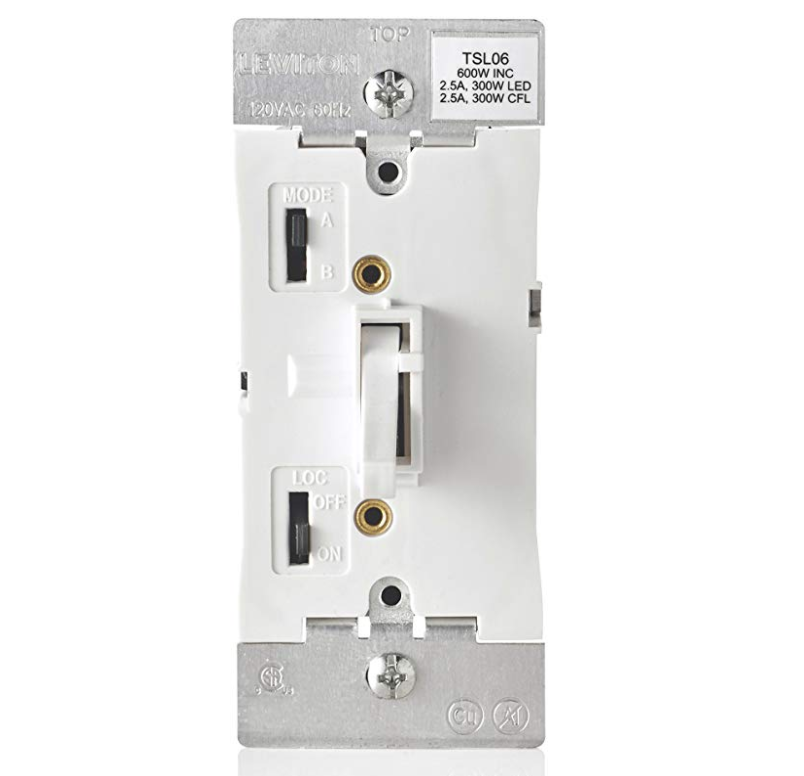
PICK A DIMMER SWITCH
You want to choose a dimmer switch with a wattage rating that will meet or exceed the total wattage of all the light bulbs the dimmer will control.
If you’ve got a cute light fixture with 3 bulbs at 60 watts each, you’ll need a dimmer that can handle at least 180 watts.
Most light fixtures will work with dimmer switches. When shopping for light fixtures check to see if they are dimmable. If you’re not sure if your light fixture is dimmable check what kind of bulbs you’re using. Most dimmable light bulbs work find on a non-dimmable circuit. However, if the bulb is not dimmable -no dimmer switch can save you!
Use standard dimmers on 120 line voltage and low voltage dimmers for 12V and 24V applications.
If you install a dimmer switch on a fixture and the fixture hums, buzzes, flickers, or is not responsive, it’s likely that the bulbs are not dimmable.
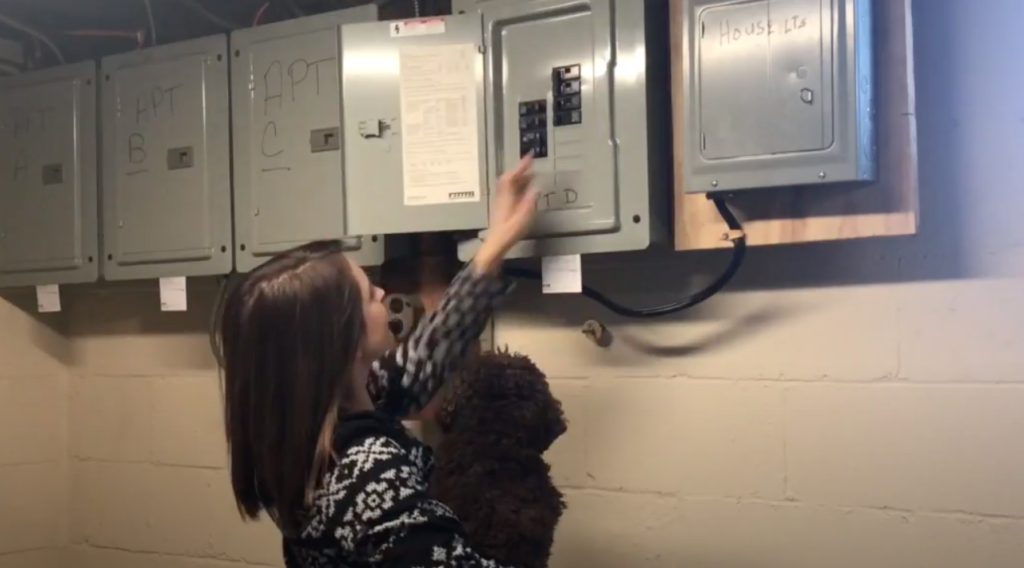
SAFETY FIRST
Before you begin any work, turn off the circuit breaker that controls the light you’re working on. Here’s our surefire method for finding the right breaker: turn on the light you’re working with, then flip the breakers until the light turns off. Easy.
 However, you can never be too careful. Unless you’re going for that all-over mohawk look.
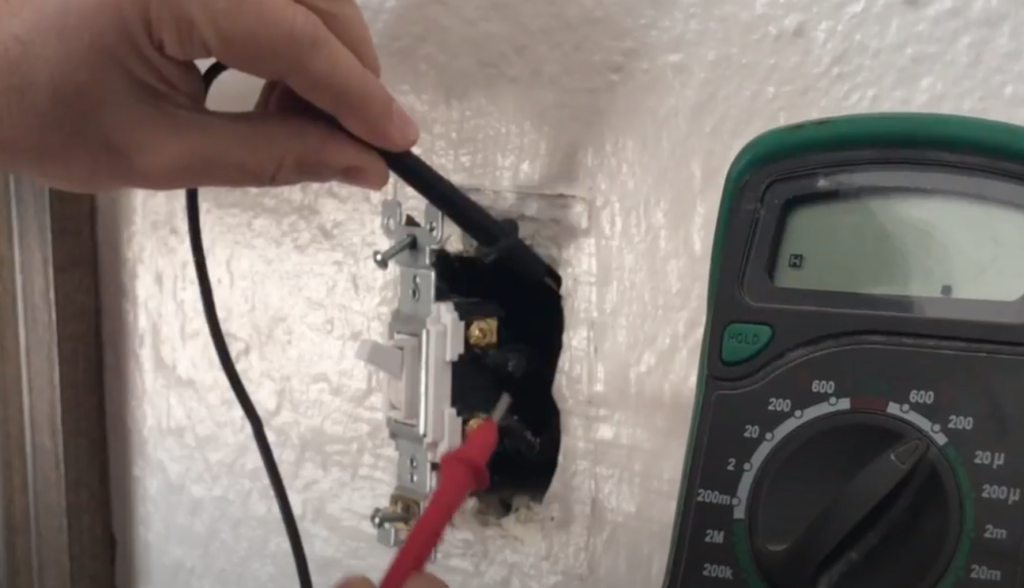
Jk jk jk…electrical shock is NOT cool. See a hairstylist for all your hair needs. Double check with a voltage tester to make sure you’re protected from shock!
 EASY PEASY SWAP
Once you’ve killed power to the switch, it’s time for the swap. We recommend getting an LED compatible dimmer switch to save on your electricity bill. Make sure you have the correct dimmer switch for your job. Is the light controlled by one switch (single pole) or two switches (3-way)? Some even do both! Double check the dimmer switch packaging to make sure you’ve selected the right product.
Here’s what you need to do:
****FIRST: CUT THE POWER TO THE SWITCH AT YOUR CIRCUIT BREAKER OR FUSE BOX. CONFIRM THE POWER IS OFF BY SWITCHING THE LIGHT OFF AND ON****
Related: Ikea Kitchen Storage Ideas
Let’s Break it Down: Remove the Old Switch
- Remove the wall plate. Then unscrew the switch from the box.
- Carefully pull the switch away from the wall so you can see behind it.
- If you are replacing a three-way switch, one wire will be connected to a different labeled screw or it will be labeled “Common”. This is different from your ground wire that is wrapped around a green screw. Label the “Common” wire with a piece of electrical tape so you can identify it later.
- Disconnect the hot, neutral, and ground wires with a Phillips screwdriver. Remove that boring, un-dimmable switch. If you are replacing an existing dimmer, you’ll need to unscrew the wire nuts around the switch wires and house wires.
Need a consultant to show you how to skyrocket your Airbnb listing? Contact Nestrs today for more information
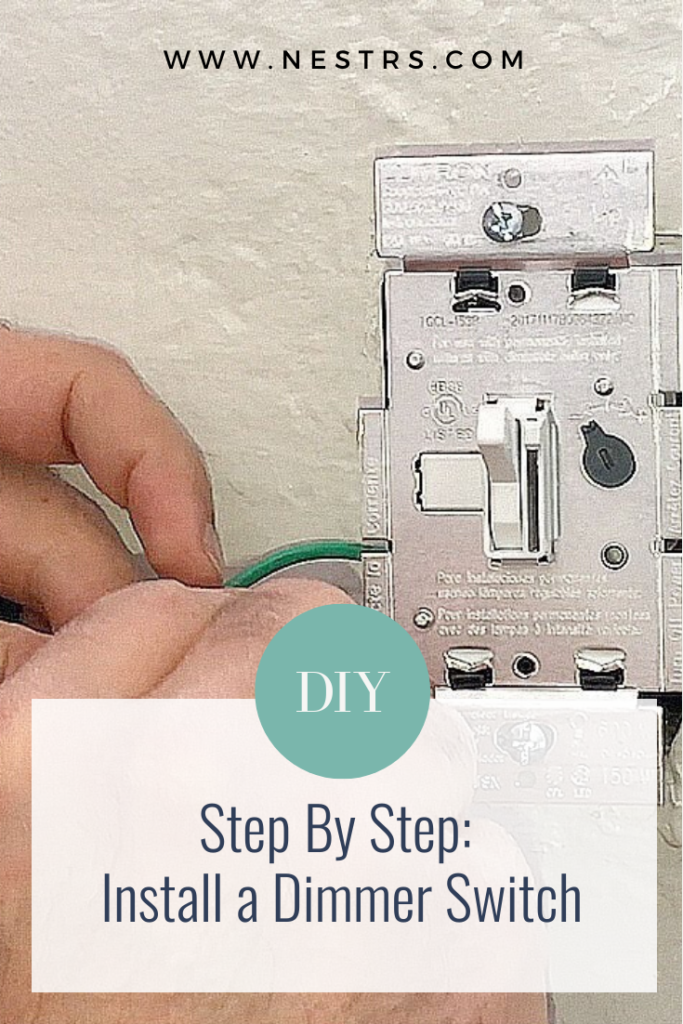
Connect the New Dimmer Switch
Time to install your new, fancy, dimmer switch …
Single-pole
-
- If the house wires are bent or curled, use a wire stripper to straighten. Make sure there is about ¾” of bare wire available on each wire. If you need to, remove some of the wire casing.
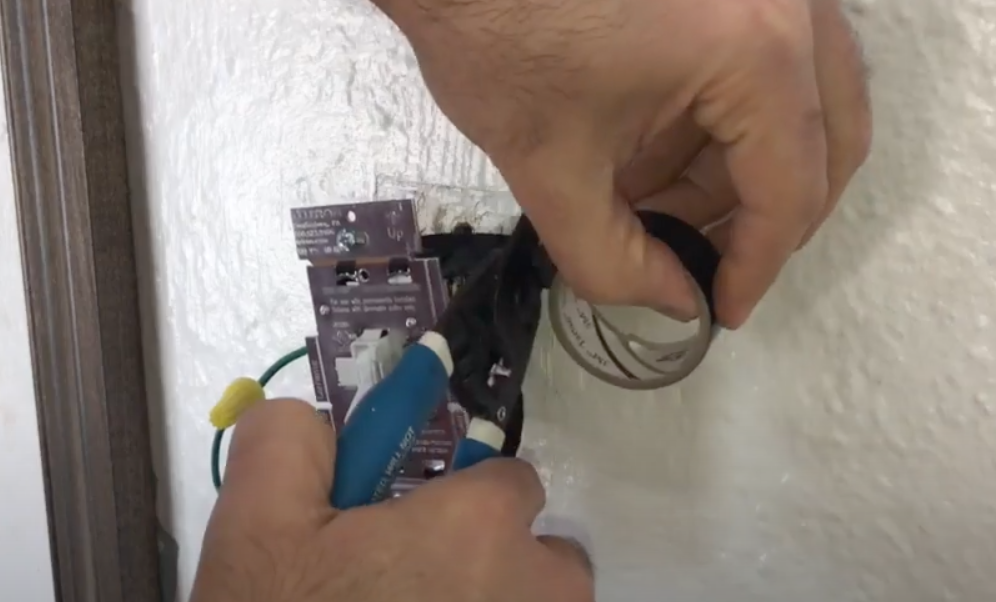
- Connect the ground wire from your dimmer switch to the green or bare copper wire from the house wires. Twist them together clockwise. Secure them together with electrical tape and then with a wire nut. (The electrical tape part is a tip from my Dad who is one of the most badass electricians I’ve ever met!)
- Connect each dimmer wire to a house wires using pliers. The dimmer wires will most likely all be black. The two house wires may be black, red, or white with black marking. Wrap each pair in electrical tape and them cap with wire nuts. Take care not to leave any bare wire exposed. If you see exposed wires, trim the wires with wire cutters and then re-tape and re-cap.
 Three-way dimmer switches
- If the house wires are bent or curled, use a wire stripper to straighten. Make sure there is about ¾” of bare wire available on each wire. If you need to, remove some of the wire casing.
- Connect the ground wire from your dimmer switch to the green or bare copper wire from the house wires. Twist them together clockwise. Secure them together with electrical tape and then with a wire nut.
- Connect the black dimmer wire to your tagged common wire and remove the electrical tape.
- Connect the two remaining dimmer wires, called traveler wires, separately to each remaining wire in your wall box.
- Use a screwdriver to mount your dimmer to the wall with the provided screws.
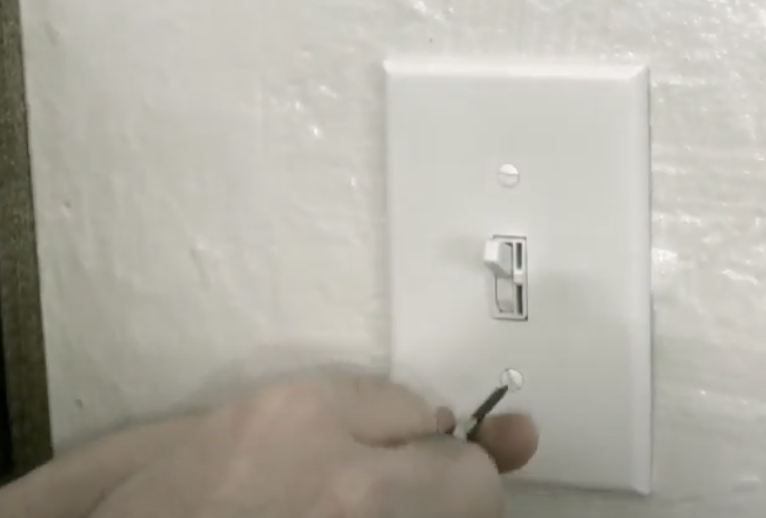
Replace the Wall Plate
- Carefully tuck the wires into the electrical box.
- Secure the dimmer switch to the electrical box with the screw provided.
- Some dimmers have wall plates that screw onto the dimmer switch and some have wall plates that snap into place. Follow the directions that come with your chosen dimmer switch.
 TEST IT BEFORE YOU NEST IT…
….see what I did there?
Once the wires are securely connected, turn on the circuit breaker and test that the dimmer is working properly. If your switch is not working, double check the manufacturer’s instructions to make sure you made the correct connections.
 LOOK AT YOU!
Swapping out light switches and conquering the world. You rocked it! Just put your faceplate back on and set the mood with a little dimmer action!
Related: Painting an ‘Old’ Ad on an Old Brick Chimney
No Comments