01 Oct How to Touch Up Paint on Walls: A Simple Guide
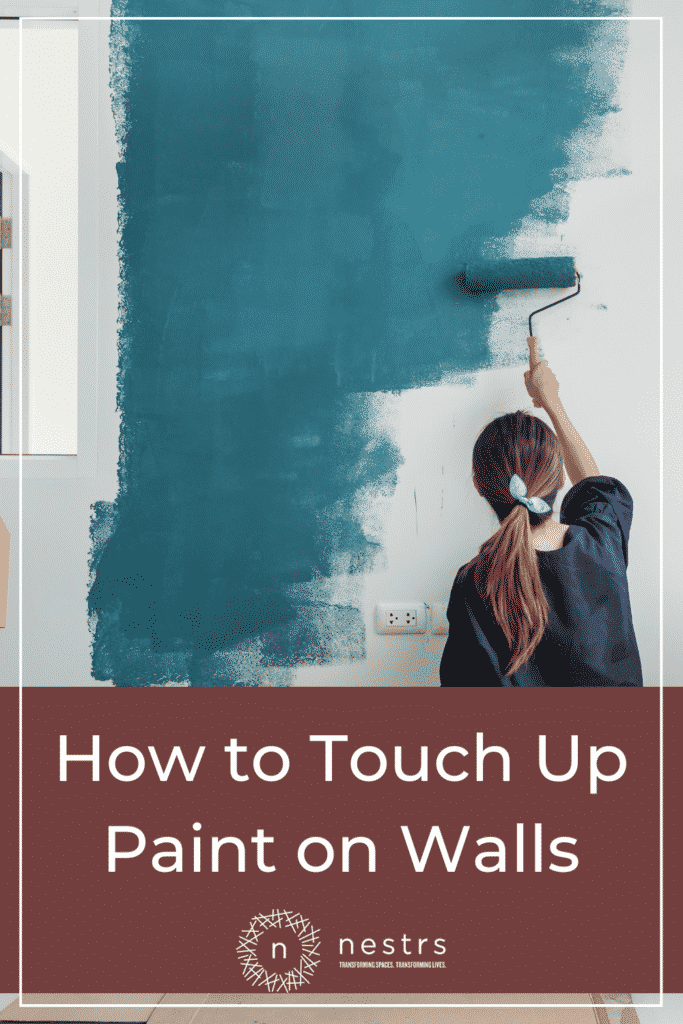
One of the most important skills any DIYer needs to learn is how to paint a room properly. We paint our spaces for a variety of reasons: to cover up damage, restore color to faded paint, update the look of our space, brighten up the mood of a room, and more. A fresh coat of paint is the quickest and easiest way to improve a space.
But nobody’s perfect, and mistakes happen. Paint can spill, smudge, or splatter, and a lot could happen that would result in a less-than-perfect paint job. Don’t panic! Paint mistakes aren’t permanent. In fact, they are pretty easy to fix. The next time you run into an “oops” moment during a paint project, follow these steps for a quick, easy, and long-lasting fix!
Related: How Much Does it Cost to Paint a House in 2021?
Wipe Down the Surface
Before you fix anything, clean the surface with a sponge, mild detergent, and water. Wiping down the surface will remove any residual dirt, grime, or dust that has built up over time. Don’t skip this step! All that gunk that settles on the walls over time will negatively affect how the paint adheres to the wall. Use your sponge and soapy water and gently give the wall a good wipe, and dry it with a towel before you even think about getting a paintbrush ready.
Use a Sturdy Primer
Primer is an essential foundation for painting, but the concept of primer is not limited to painting walls. Makeup artists and enthusiasts use makeup primers before applying foundation to create an ideal canvas and base for the makeup they apply on top. Primer creates an even base and prevents discrepancies and unevenness in color. Don’t ever skip primer! Even if you’re just touching up a small space, using a primer will ensure that the patch you’re repairing is the same color as the rest of the wall. Without a primer, the small spot you’re touching up will stand out… and that sort of defeats the purpose of fixing it, right? To make sure your touch-up has a seamless finish, prime it first and allow the primer to dry before adding the paint.
Related: How to Get Rid of Textured Walls
Use Paint Swatches for a Perfect Match
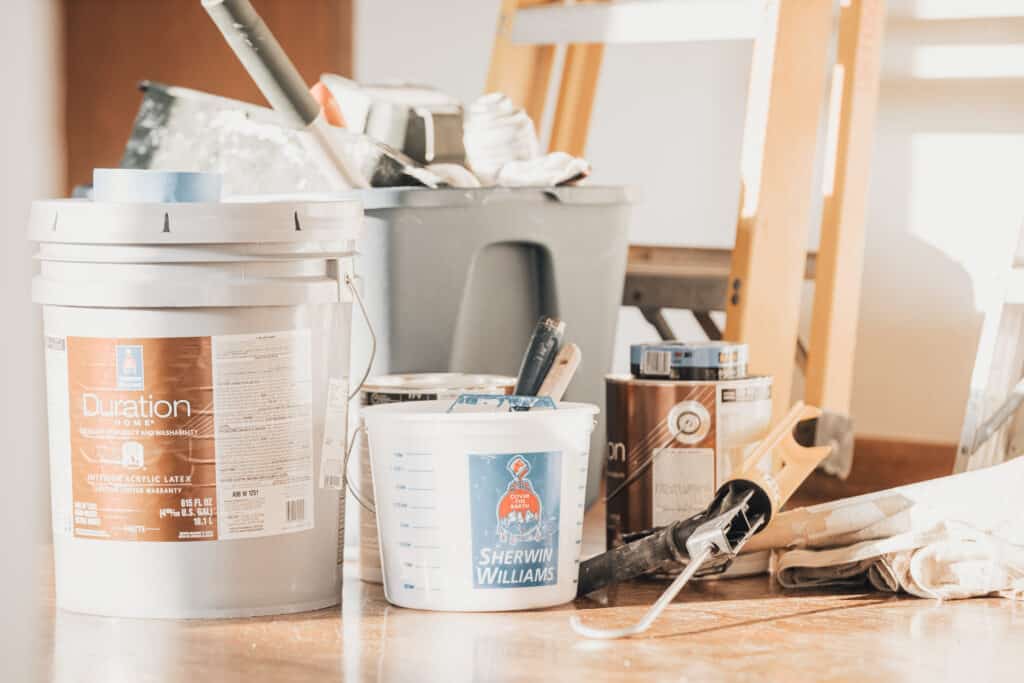
Choosing the right color can be overwhelming. With an entire aisle full of swatches at Lowe’s or Home Depot, it’s hard to know where to begin. Start broad and work your way in. For example, are you interested in a warm tone, or a cool tone? Are you looking for something neutral or bold? Consider the layout, furniture, and decorations of the room and what will complement them. Once you’ve narrowed it down to a vague idea of what you’re looking for, pull some swatches and get samples. Don’t be afraid to test them out in your home! Tape your swatches to the wall. How does it look against everything else in your space? How does it look in the morning vs. the evening? Take your time in choosing your color. You don’t want to find yourself in a position where you think you know what you want based on the first swatch that catches your eye, you buy the paint, and you get started, only to discover that it is not at all what you wanted. Before getting that far into your project, take your time to find the perfect match.
Are you thinking about repainting, remodeling, or just redecorating your home to turn it into the house of your dreams? Consider checking out the massive array of professionally crafted resources provided by the home renovation experts at Nestrs today!
Create a Small Paint Sample First
Once you pick out a few swatches, grab a few samples and paint a small area of your space first so you know what it looks like. Don’t worry if you decide it’s not for you! You can easily paint over it, and painting over a small area is much easier than repainting an entire wall or room. It’s important to keep in mind that paint looks different when it’s dry than when it’s wet. We can’t emphasize enough the importance of taking your time when choosing a color, as this is a very important step.
Use Protective Equipment When Painting
Safety first! Painting indoors can present a few hazards, and we want to make sure you’re doing everything you can to mitigate these risks. First and foremost, make sure you’re selecting the right kind of paint. If you’re painting indoors, select a paint that is made for indoor painting. These usually produce less harmful fumes. Read the labels and the safety warnings and plan accordingly based on the recommendations on the label. You might need to get gloves, goggles, and a mask, especially if you have respiratory sensitivities.
It’s imperative that you paint in a well-ventilated area to reduce the risk of irritating your eyes, nose, throat, and lungs with the fumes. We suggest waiting until the weather is nice enough to open the windows to allow fresh air, and using box fans to help circulate the air flow. If possible, keep those windows open until the paint dries to allow the room to really air out and allow any residual fumes to exit the space. Take frequent breaks where you can step outside for more fresh air. Wear comfortable, protective clothing and avoid getting the paint on your skin. If you do get paint on your skin, wash it off with soap and water.
Be sure to firmly close any unused or leftover paint canisters and keep them out of reach of children at all times. If you’re experiencing dizziness or lightheadedness, stop painting and go outside.
Paint Evenly and Let It Dry Completely
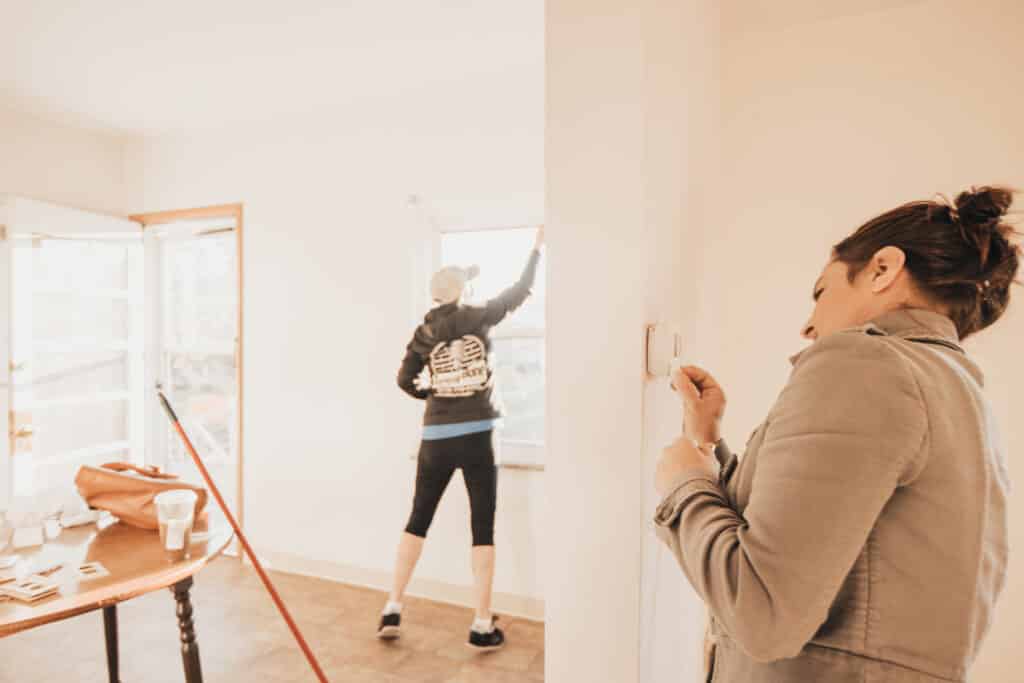
Once your wall is wiped and primed, you’ve picked out your perfect paint color, and you’ve taken all of the necessary safety steps, it’s time to get painting. Paint evenly, make sure you allow each coat to dry before starting the next coat and follow all the guidelines of the manufacturer. Keep in mind that darker colors may take longer than lighter or more neutral colors, and any trim or moldings on the walls may mean that your project will take some extra time. Once you’re done, don’t forget to clean up your space. Remove all the painter’s tape, any cloths or tarps you put down and clean up any spills or messes.
Related: How to Finish Drywall for Beginners
Frequently Asked Questions
How do you touch up paint without it showing?
If you have any leftover paint, use it for any touch-ups, but if you don’t, try to match the shade to the best of your ability with swatches and samples. Don’t forget the primer!
How do you touch up paint without leaving brush marks?
If you take a step back after painting to admire your work and notice brush marks, there’s a way to fix that! Sand down the area, wipe it down with your sponge and soapy water, and when it dries, try again! Give the paint another thorough stir, and take your time while painting. Using a high-quality brush will also help cut down on those annoying marks.
How do you touch up a missed spot on a painted wall?
For small spots, use an angled foam brush to lightly dab paint into the missed spot. For bigger spots, you can help make sure it blends in by using the same kind of brush you painted that wall to begin with. If you used a roller, use a roller again (you don’t have to use the big one, you can get smaller ones too while you’re on your supply run). If you used a brush, use a brush again. Use small amounts of paint and take your time!
How do you blend touch-up paint?
To help make sure the touch-up paint blends properly, you can reduce it by 10-15% with a paint reducer. Check with the paint manufacturer to find a paint reducer that works best with your paint.
Will roller marks go away when the paint dries?
To avoid roller marks, paint in a W shape and always try to maintain a wet edge. If you still have marks even after your second coat, sand down the wall, wipe it clean, prime, and try again.
Are you looking to turn your drab, uninteresting house into the gorgeous home of your dreams? Take a look at the wide array of expertly crafted resources proudly provided by the home renovation professionals at Nestrs today to learn everything you need to know about the process.

No Comments