26 Apr How To Lighten Dark Stained Wood Beams
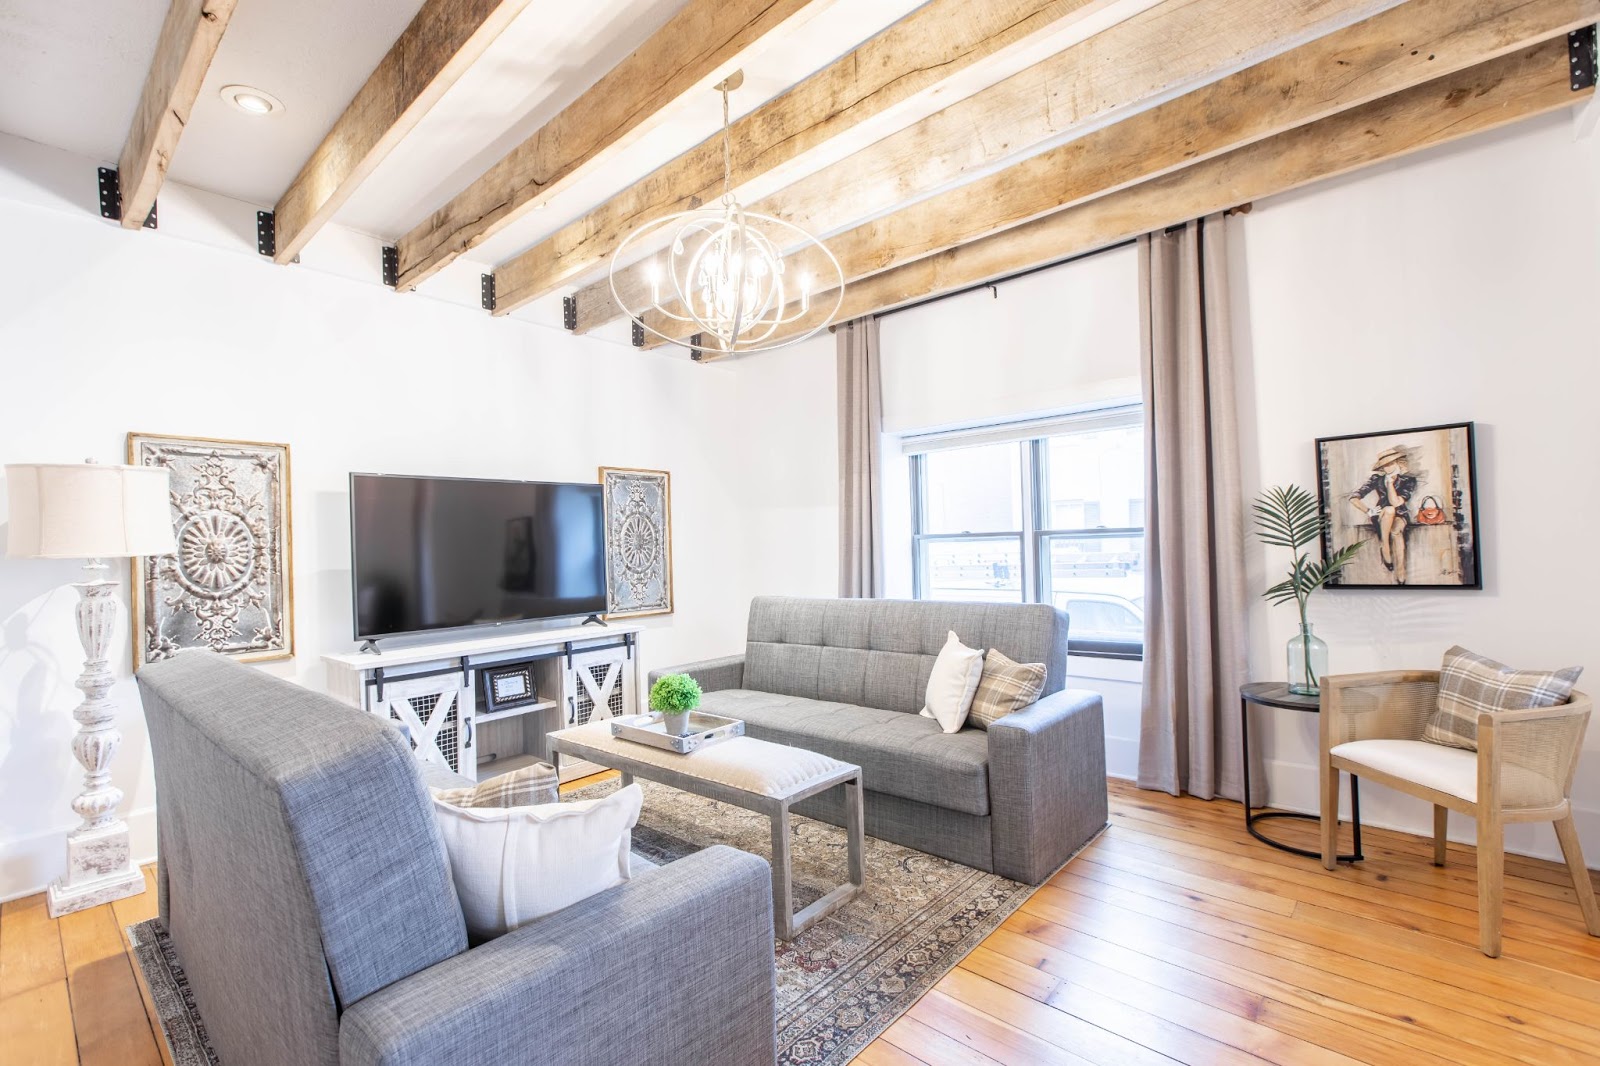
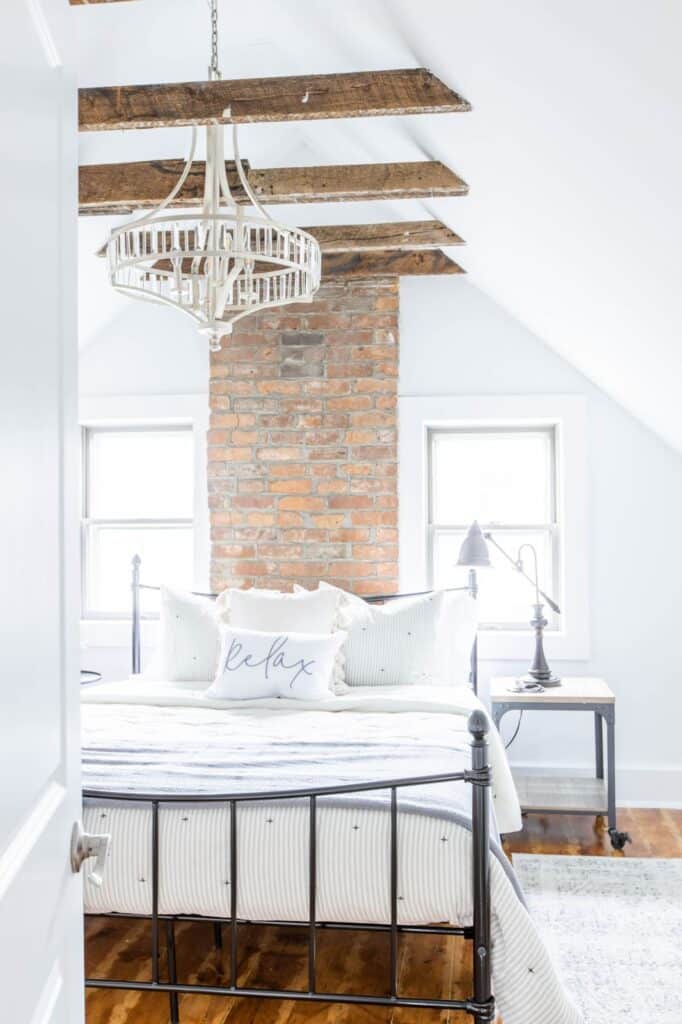
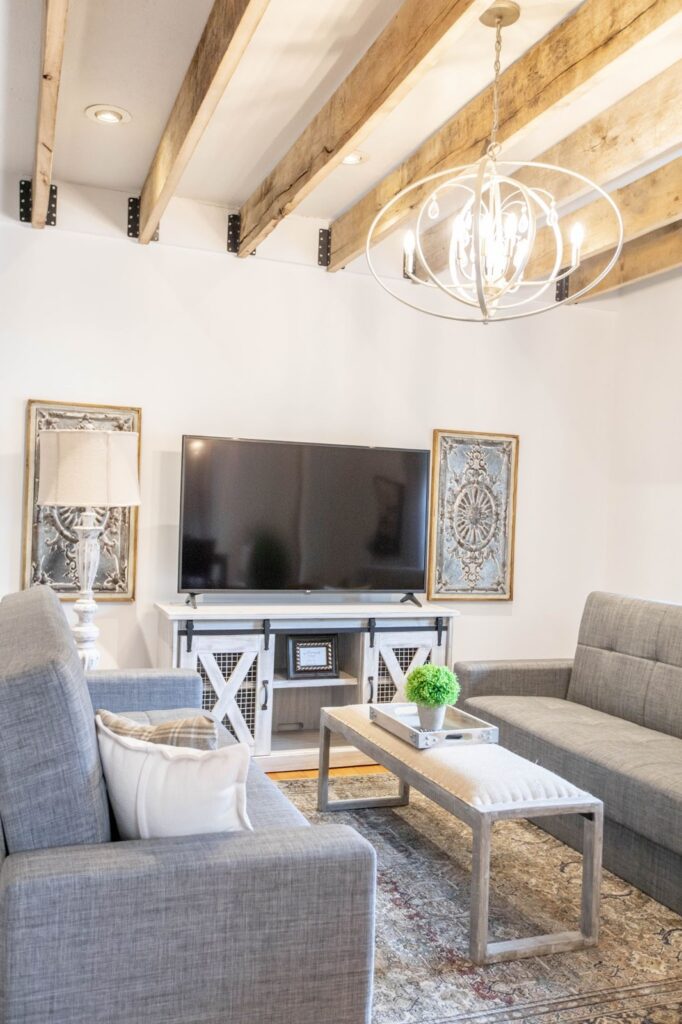
We all want exposed wooden support beams in our home, right? But, they often go forgotten in place of other things that need regular upkeep. These stunning features can lose their luster over time, causing them to look aged and worn. That’s why it’s essential to routinely clean and restore the beams, though the process of doing this can be more than a bit tricky. Keep reading to learn everything you need to know about how to lighten up dark stained wooden beams.
Related: How to Choose the Right Light Fixtures for Your Home
What Causes Wood Beams to Age?

Wood is a type of organic matter and all organic matter ages with time. The process can be slowed or quickened with the use of both natural and artificial substances, which is why it’s critical that as homeowners we use the correct kinds of cleaning products to avoid damaging the integrity of the wood while deteriorating its overall strength. Other elements like mold, excessive humidity, termites, and severe rain or snow can also cause aging.
Related: How to Select the Right Hardware for Your Kitchen Cabinets With Top Knobs
Types of Wooden Beams
There are many types of wood that are utilized to make wooden beams, each providing a slightly different look with the aesthetic of the building. Here are the types of wood you’re most likely to deal with when it comes to the wooden beams in your home:
Douglas fir
Douglas fir wood is often used for beam frames and highly finished posts due to its strength, grain, and the variety of beautiful colors that it comes in, ranging from pale yellow to light red. This type of wood is also less prone to checking, making it inherently more stable.
White pine
White pine is a stable type of wood that features a good, straight grain that can be easily planed and stained. White pine is typically a pale yellow but can occasionally contain lovely reddish streaks. It isn’t as strong as either hemlock or fir tree wood, so it’s best used for beams that don’t cover long spans of space.
Hemlock
Hemlock is one of the stronger woods listed here. It’s an economical wood with a long grain that’s often used to construct barns and older-style country homes. Hemlock is resistant to rotting and can provide a lovely sort of rustic look to homes.
Cyprus
Cyprus has a distinct scent and look when it’s cut, and like hemlock, it is resistant to decay. Coupled with its moderate strength and hardness, this makes it an excellent choice for both outdoor and indoor use.
Oak
Oak beams are beautiful and considered to be the strongest of all wooden beam types, and they are widely used as a result. However, oak is not as stable as softwoods because it is more likely to check and twist over time.
Are you considering a significant home redesign or renovation but need a little help on figuring out how to get started? Check out the quality resources offered by Nick and Sarah over at Nestrs today to learn more.
Lightening Dark Stained Wooden Beams

Diluting stains before application
Combine and stir equal amounts of natural wood stain and the stain color you want to lighten, until they are thoroughly mixed. Before applying the stain to your beams, check the color on a spare piece of scrap wood– the same type as your wooden beams. Wipe off any excess stain and let it sit overnight to dry– this is important because the wet stain will tend to look very different from the dried stain. Check the wood scrap the next day to determine if it is the color you want. If it is, you can start staining your beams. If you want a lighter color, mix in more natural stain and test another wood scrap until you have the color you want to work with.
Steps to lighten wood beams
- Test the ESP undercoat and casein distemper on a small area of the beams to determine what type of finish they have and if it will leach into the distemper.
- Using a scraper, remove all loose paint or flaking areas.
- Clean off all dirt and grime with a bristle scrubbing brush, sugar soap, and hot water.
- Use a green kitchen scorer to remove varnish or gloss paint and create a tough surface for a distemper coating.
- Soak the water up using a clean cloth (an old t-shirt will work well), and open up doors and windows to help reduce drying time.
- Once the wood is fully dry, apply the ESP with a brush to form a barrier between the old finishing and the new finishing. Give the ESP time to bond to prevent migration of the old stain.
- Use water to dilute the casein distemper by 10% and stir it well before and during use.
- Apply the first coat of distemper and give it two hours to dry, being careful to ensure that your coats are not too thickly applied. Otherwise, the paint has the potential to crack and sag once it has dried.
- Apply the second coat while still keeping in mind not to apply it too thickly.
Related: How to Best Light a Living Room Using No Overhead Light
Final Word
No matter what kind of beams you’re working with, we hope we’ve gotten you started in your lighting process! Exposed wood beams can be the focal point of your room and even your home, so show them some love. And once you’ve done all the hard work to lighten them, don’t forget to take care of them! They’ll need to be included in your regular upkeep. Oh and don’t forget, safety first! If your beams are high up or in a difficult-to-reach location, be careful while cleaning and applying new finishes.
Do you want to start up your own Airbnb but aren’t sure how to get your home ready? Check out Nestrs today to learn about what it really takes to get started.

No Comments