
30 Nov How To Make Walls POP!
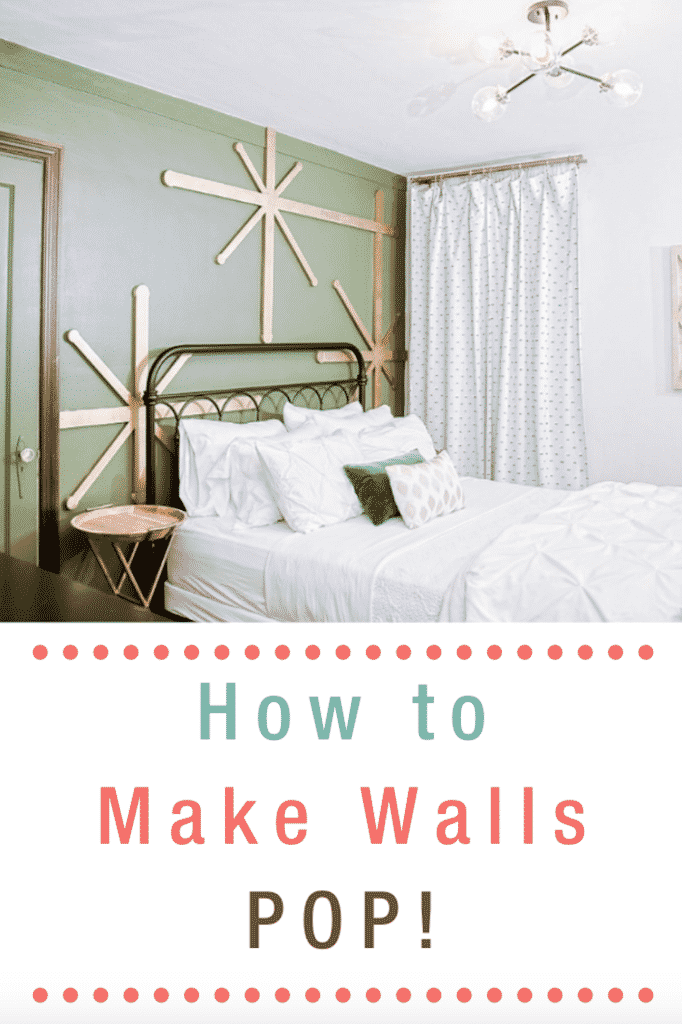
This post is sponsored by Lowes Home Improvement. But all creative input, opinions, and thoughts are our own! Thank you for supporting our online corner of the world!
You can make your walls POP! All you need is paint, wood, and a little creativity.
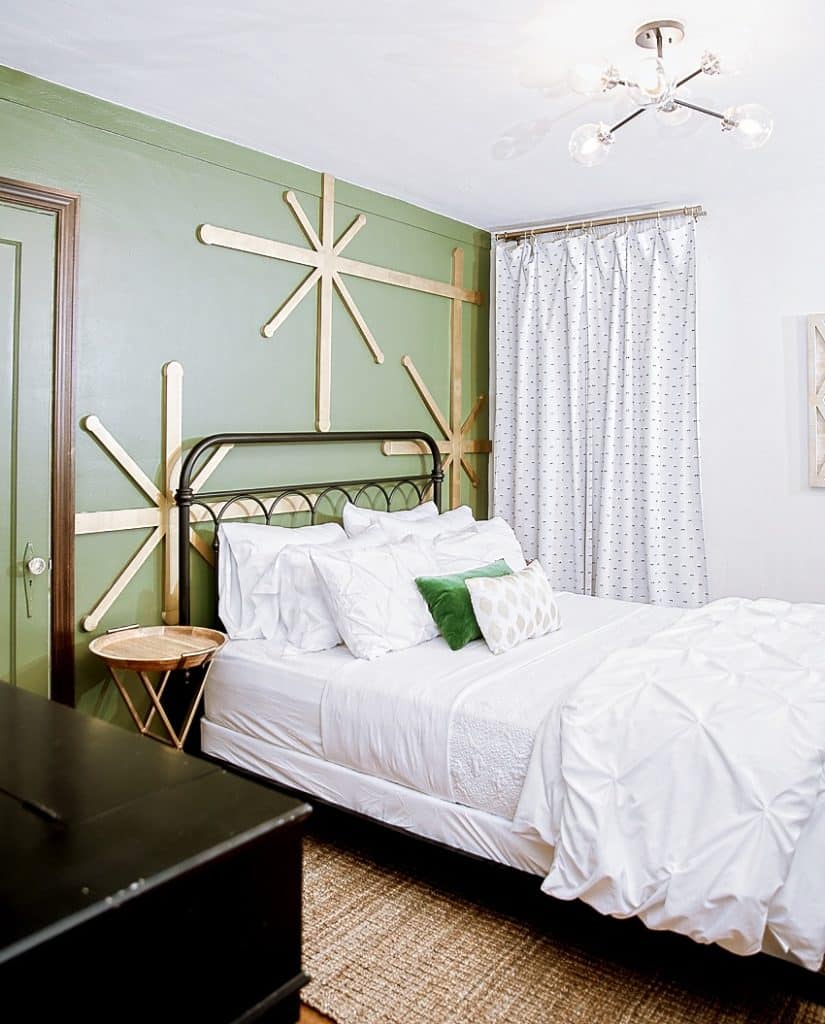
We took the bedroom in our Airbnb, Vintage Charmer, from ok…
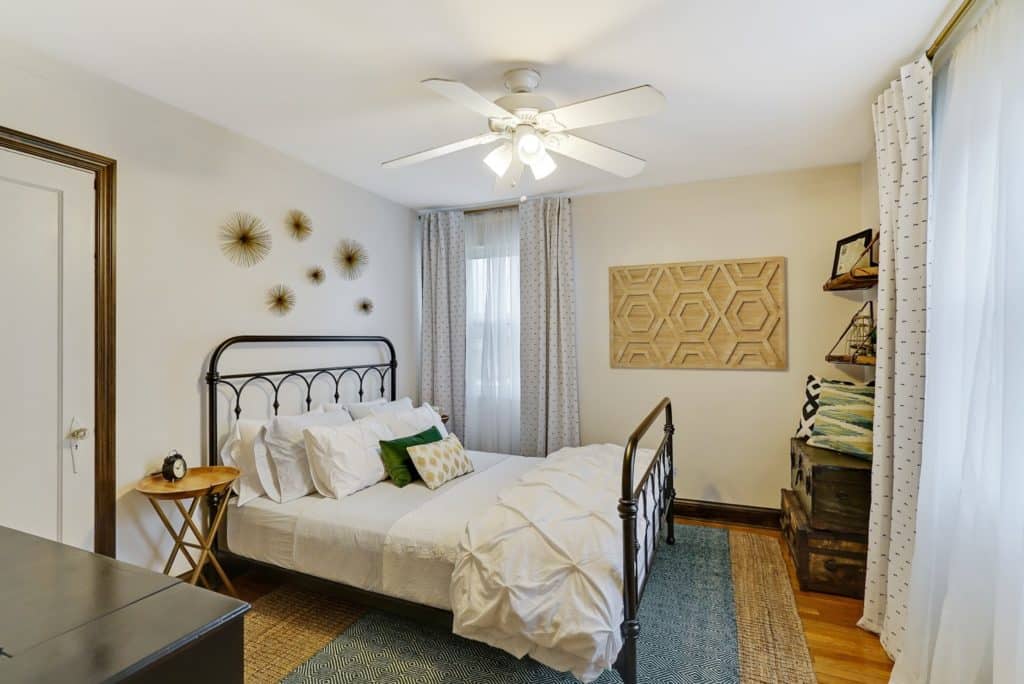
To Wow!
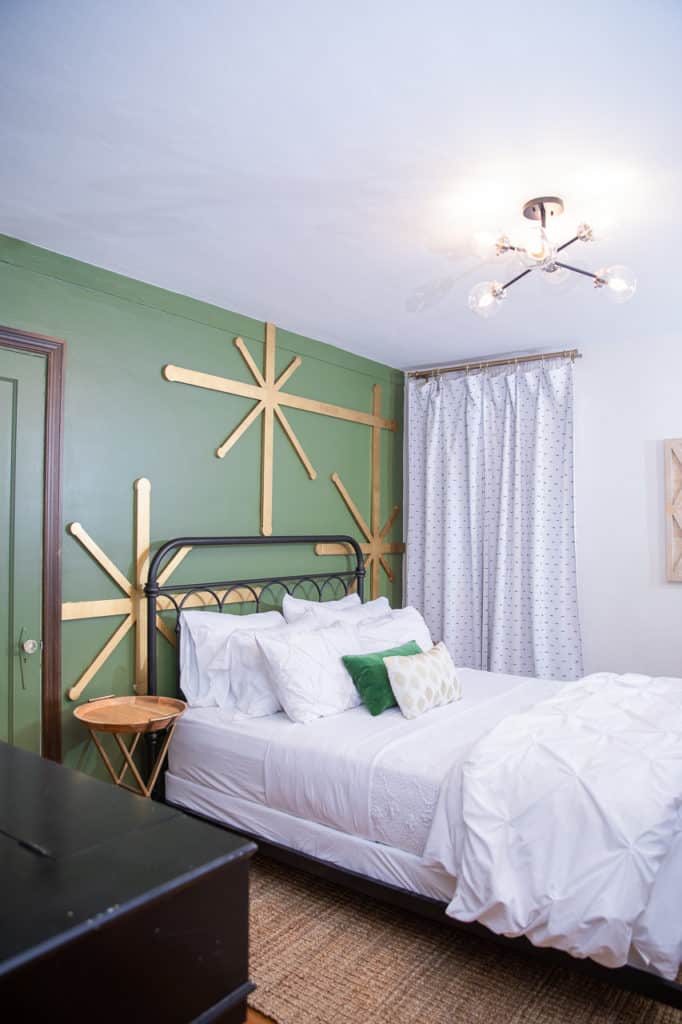
Here are the tools and materials we used to make this happen. You can get them all at Lowe’s!
Kobalt 24-in Box Beam Level Standard Level
DEWALT 120-Volt 3-Amp Orbital Sander
Gator Sanding Disc 220-Grit Commercial 8-Hole Hook and Loop Sandpaper
Craftsman 16-Gallon 5.0-Peak -HP Shop Vacuum
DEWALT 20-volt Max Variable Speed Keyless Cordless Jigsaw
Valspar Signature Architectural Effects
Purdy XL Cub Nylon- Polyester Blend Angle 2-in Paint Brush
PORTER-CABLE 18-Gauge Finish Nailer
Aaaaand, if you’re a visual consumer check out our 9-minute YouTube video that walks you through our entire Walls that POP adventure!
Step One: Design
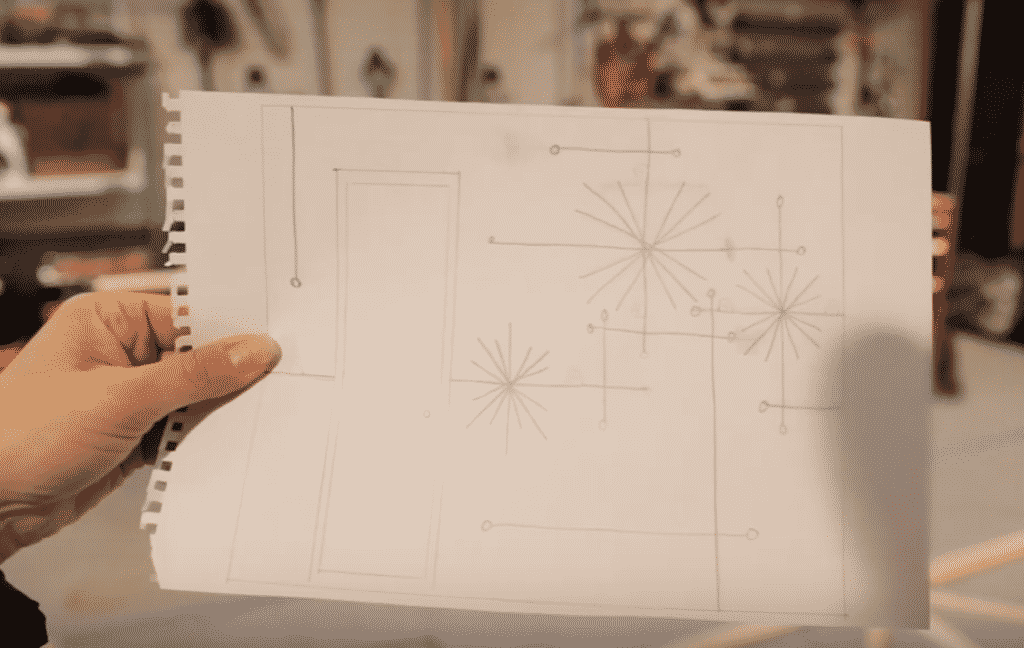
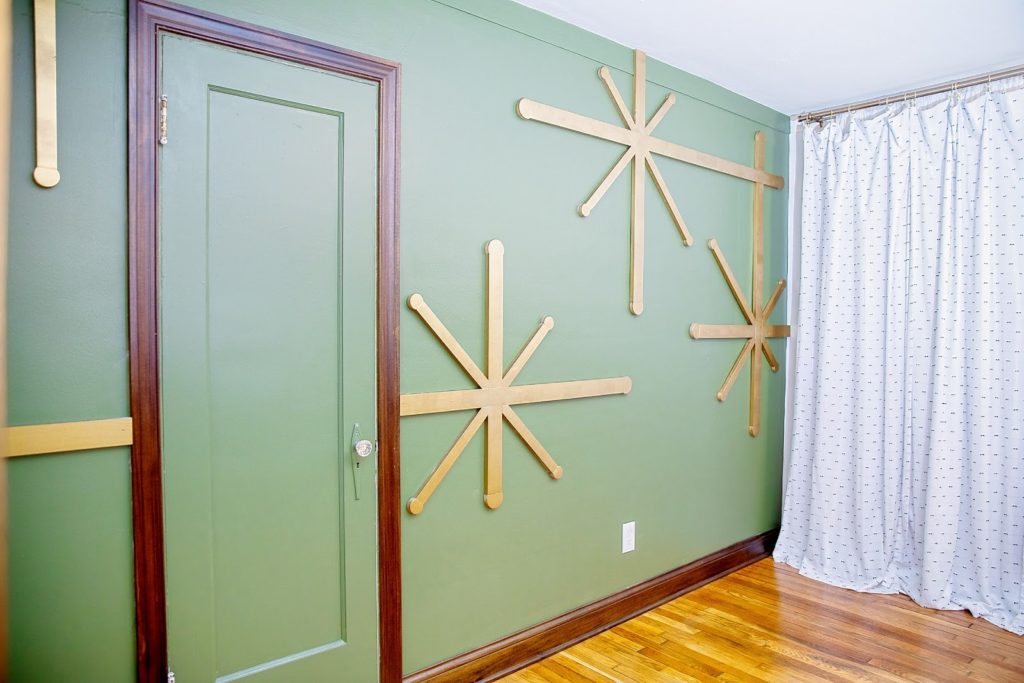
This step is all up to you! Find something that inspires you! We loved the direction the room was going with the gold sputniks, or sea urchins as I like to affectionately call them. So, we took that inspiration and drew up what you see in the photo above.
I’ve seen some people cut out wood rectangles and squares, use paneling to create a series of diagonal lines -the sky really is the limit!
We knew we wanted our walls to POP so we decided on varying thicknesses of select pine.
Step 2: Paint
Accent Wall 101 suggests painting an accent wall a different color from the other walls in the room you’re decorating. But we wanted to go a step further.
The entire Airbnb has this deep green, black, and gold color scheme going on. So, I took a piece of decor to the painting department at Lowe’s and they color matched my Valspar Signature paint in a flat finish.
Valspar also has this line of Architectural paint finishes including Brilliant Metals! The paint professional at Lowe’s explained we would need two gallons of paint -the Valspar Signature Base for Brilliant Metals and then the metallic top coat. The top coat needs to be applied either with a paint sprayer or with a ¼ nap roller cover. This gives you the smoothest finish possible.
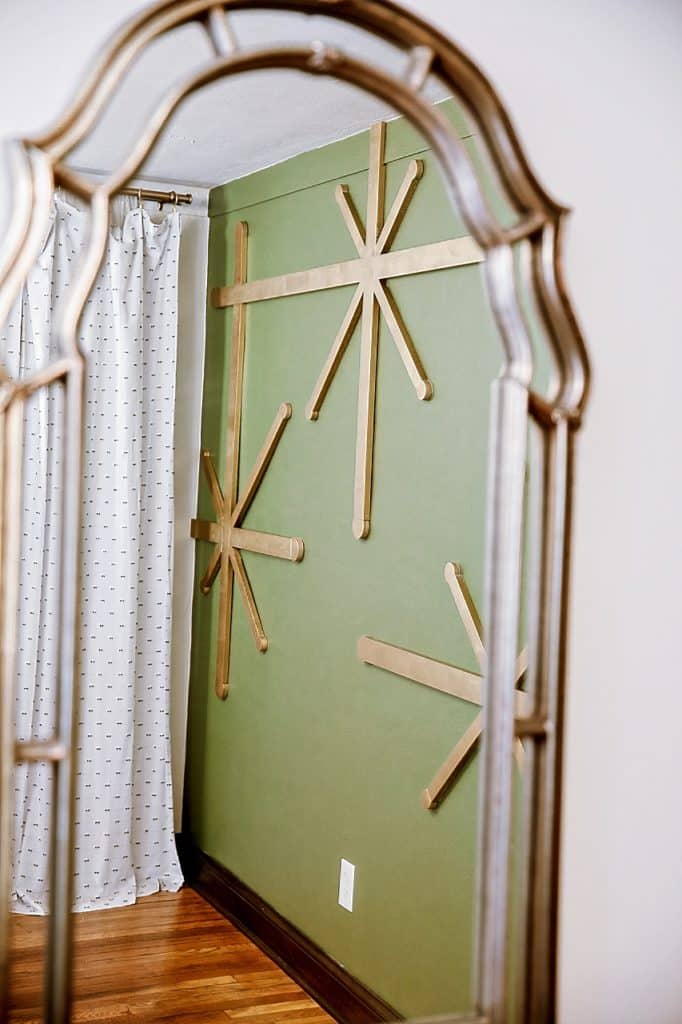
Now, we have this deep green paint contrasting the rest of the white walls and then a shiny metallic paint finish on our three dimensional planks of wood. Boom! Walls that will wow!
Step 3: Bring Your Design to Life
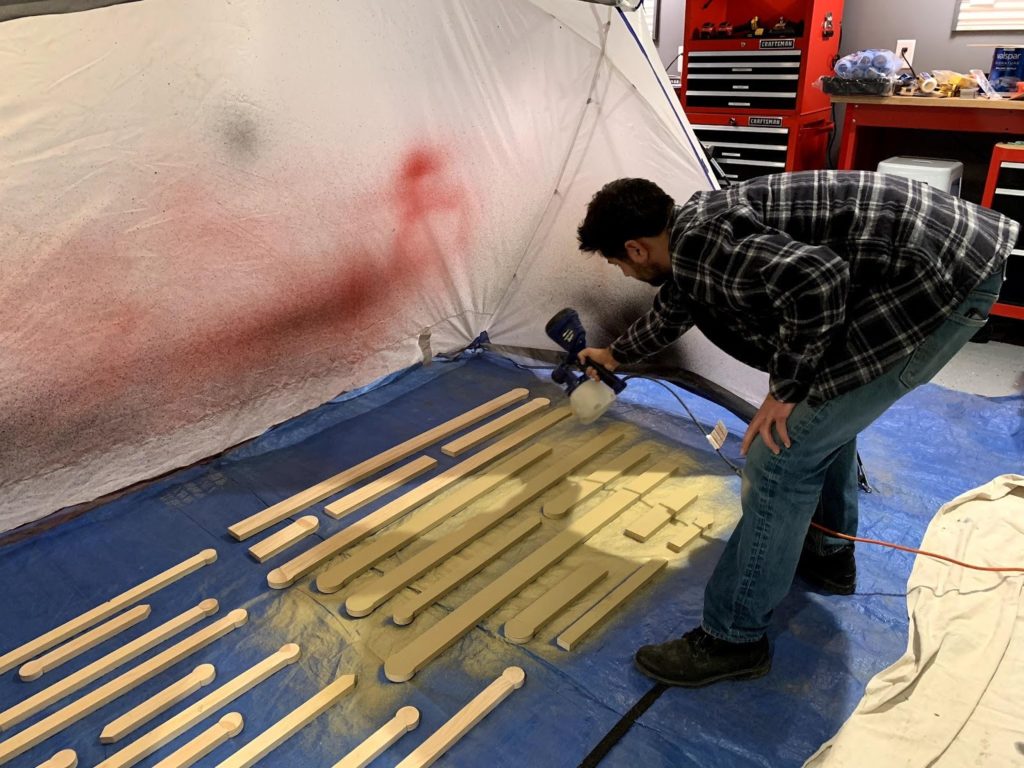
Prepare your pieces for installation. It’ll depend on what you create, but for us we wanted to get the base coat painted on our wood pieces before we put them on the wall.
We decided to lay everything out to scale on our garage floor. You can do this with graph paper or on your computer, but since we had the space we decided this would help us create the design we wanted.
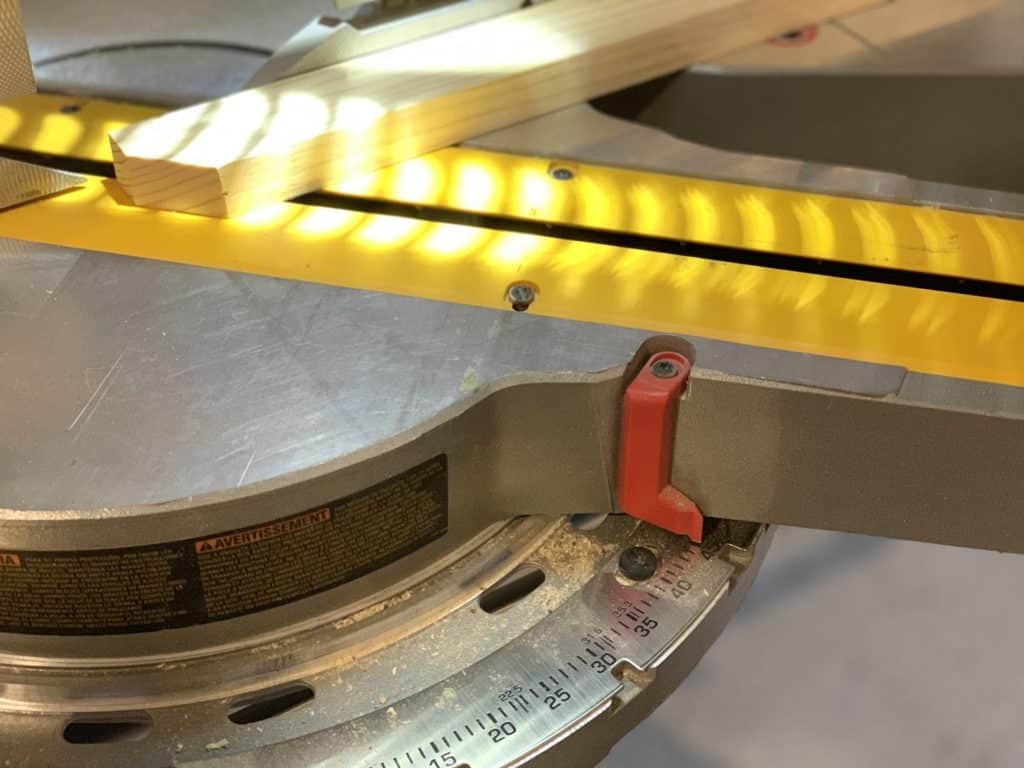
We cut 45 degree angles on our 1×3 and 1×2 planks of select pine. This helped us create our sputnik or ‘starburst’.
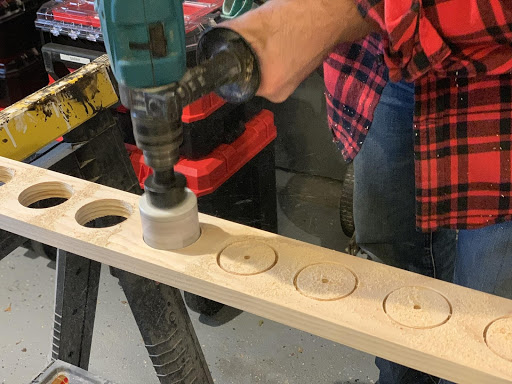
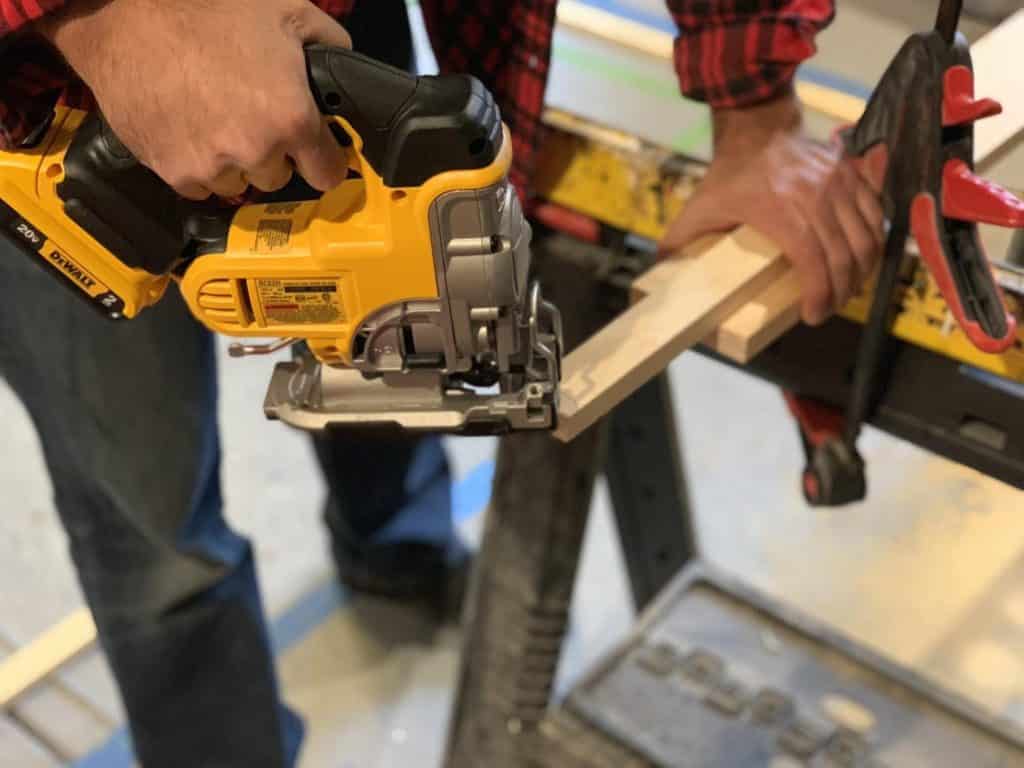
Then, we created circles for the ends of our starbursts with a hole saw and jigsaw.
Once we had everything cut out and laid out on the floor just as it would be on the wall we gave everything a sand with 220 grit sandpaper and our orbital sander.
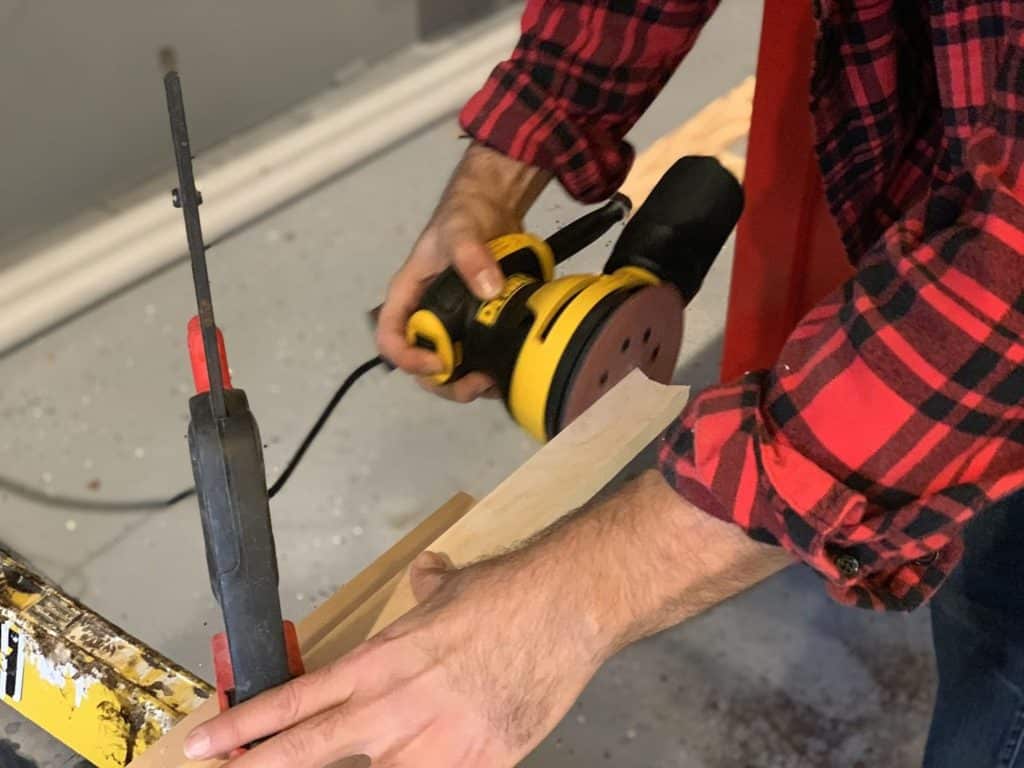
Now that our pieces are cut and sanded, it’s time for two coats of base paint!
We let everything dry and cure for a couple days. Then, we loaded everything into the bed of the truck and drove to our Airbnb!
Step 4: Install
Whoo hoo! Install day is here! In preparation for installation we perfected the walls. We removed old nails from the previous decor, skim coated other imperfections, and got her ready for her close-up!
We then applied two coats of Valspar Signature in Germinating Green to the walls.
Finally, we’re ready to get the wood planks on the wall!
We started with the far left starburst, then the one on the right, and tied it all together by carefully placing the middle star right where we wanted it. Along the way we checked to make sure certain pieces were level with our Kobalt box level.
Using construction adhesive and 16-gauge finish nails we securely fix the wood to the wall.
We covered up the nail holes with wood filler and applied two coats of Valspar’s Brilliant Metal top coat with a ¼” nap roller cover.
Boom!
How can YOU make YOUR walls POP?!

No Comments