
02 Nov How To Hang Drywall For Beginners
This post is a paid collaboration with Lowe’s Home Improvement. All opinions are our own. Thanks for supporting our little online corner of the world!

Your garage isn’t just a place to store your car. It can be everything from a mudroom, a laundry room, or if you’re like us, an office and workspace!
You may spend a ton of time in there or you may not, regardless, the value of your property will increase if you have a finished garage.
So hold onto your butt-joints (<—insider drywaller joke. Don’t worry, you’ll be an insider soon enough!) We’re going to help you finish that garage once and for all!

We headed over to Lowes to grab everything we need and we’re going to show you just how easy it is to install drywall. This series will be a two-parter. First things first, let’s get that drywall up on your walls and ceiling! Or ceilings and then walls, should I say….because we gotta do the ceilings first!
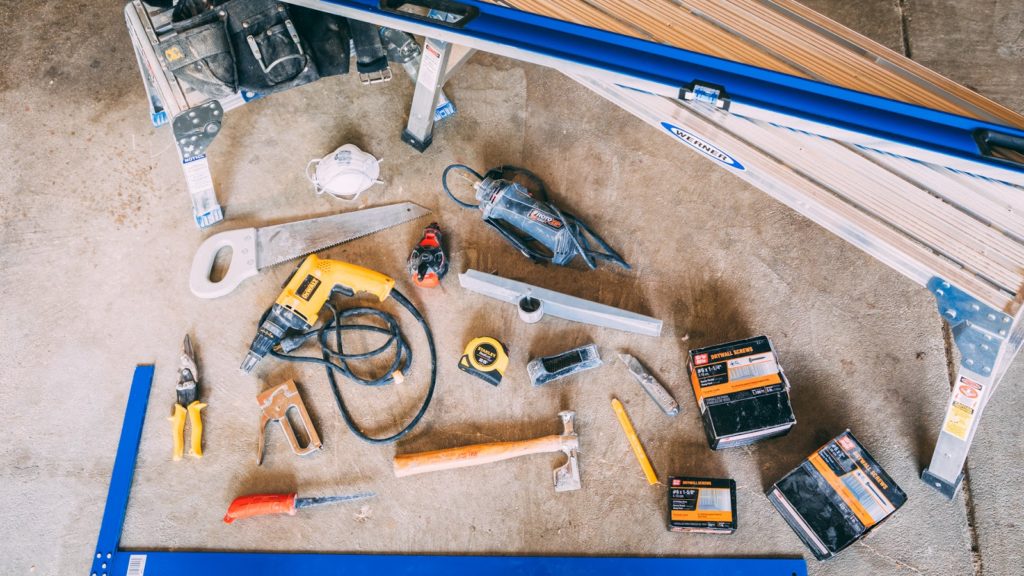
SHOP FOR EVERYTHING YOU NEED FOR THIS PROJECT AT LOWES! LINKS TO WHAT YOU’LL NEED ARE LISTED BELOW.
Lowe’s Shopping List
Continental Building Products Mold Defense 1/2″ Drywall
Swanson Tool Company Drywall T-Square
Are you a visual learner? Check out our 12-minute video for step-by-step instructions! Plus, Nick has SO MANY DRYWALL TIPS packed into this video. If I included them all in this post it would be miles long….so go watch the video!
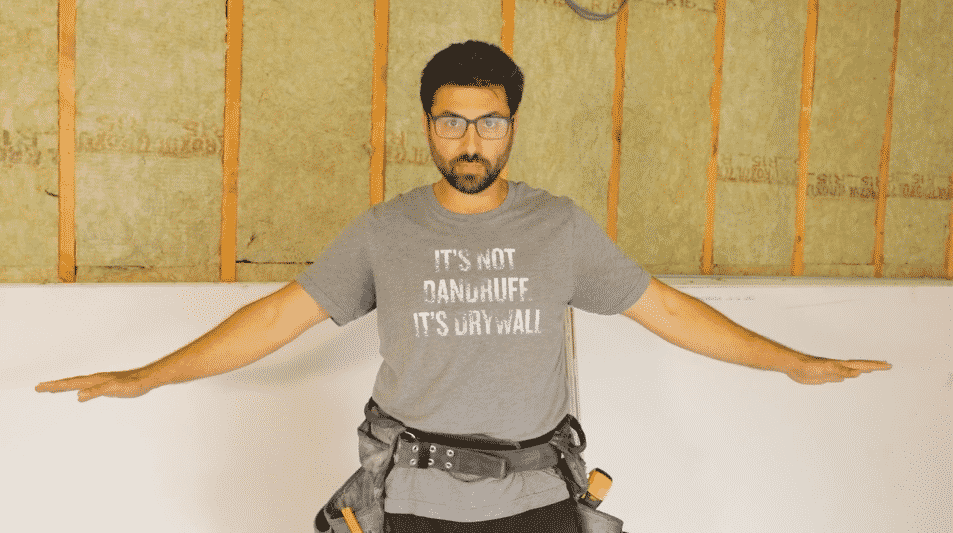
We Need an Organized and Functional Work Space!
Here’s a look at the garage at our latest investment property–which we’re lovingly calling Elsa’s Cottage. The previous owner was a vibrant artist who has since passed away and we found a bunch of her art around the home. We can also tell how much Elsa loved her historic home and we wanted to carry on her legacy.
Anyway, it’s been a while since anyone has cared for this garage. These before pictures are actually after we purged a bunch of junk that was left behind. We kept what could still be used.
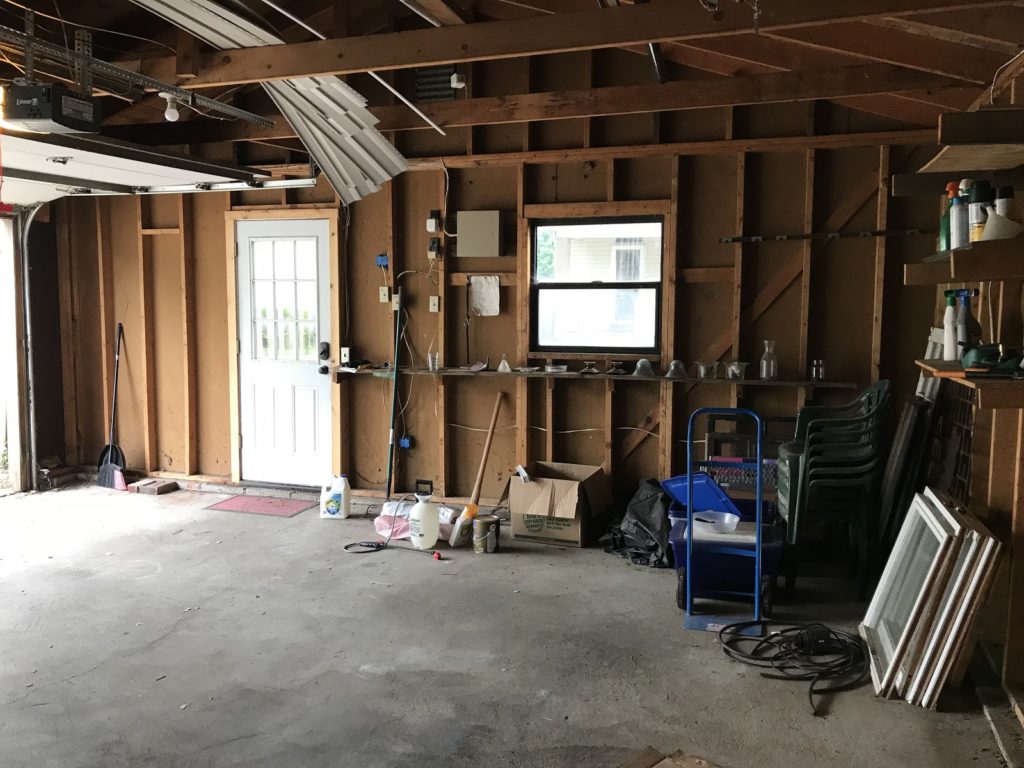

As you can tell, we’ve got simple framing here. It’s sturdy but hard to work with if you want to make it a functional and attractive space. Nick and I are currently sleeping on a mattress on the floor of this property while we wait for permits to be pulled. Soon we’ll be moving into our fourplex. Our apartment will be a 1 bed, 1 bath which is plenty of room for us to live–but where will our tools go?! Right now, they’re shoved into tiny dark closets over at the fourplex. It’s high time these NYCers get a proper Midwest workspace!
So, we’re going to walk you through how we take the garage from this:

To this:

Step 1: Prep The Space
Nick has 18 years of experience with drywall–and that means he knows how to get the room ready.
As tempting as it is to just slap the drywall up and call it quits, make sure that you check the walls for anything that would poke through and cause bumps in the finish.
That means pulling out old nails too–you don’t want to see any nail pops. Additionally, what good are walls if there is nothing behind them to help you keep warm in the winter and cool in the summer? Check out your local code to see what R-value insulation you’ll need for your garage. Installing is easy. Simply measure the size of your bay and cut the insulation using an insulation knife.

Once the room is ready, make sure that you have all the tools you need. And because we at Nestrs need everything triple checked–that means we have an 8-foot level on hand. Always make sure your surface is level before you start hanging!

Step 2: Start with the Ceiling
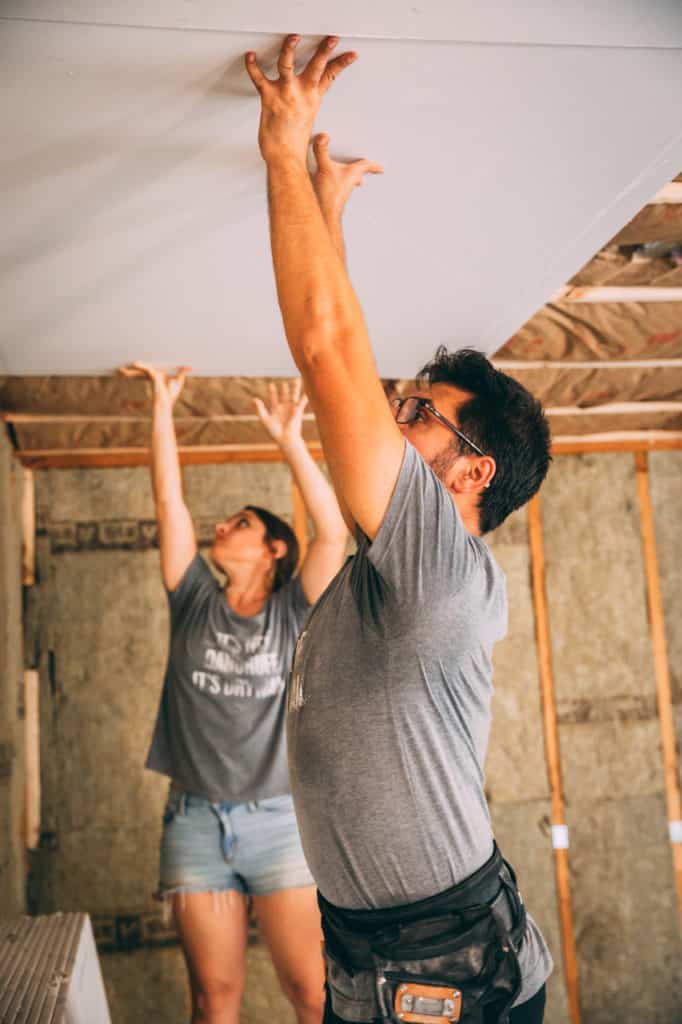
The best practice is to install the ceiling first.
Make sure you purchase the right type and thickness of drywall for your project. For us, we’re using ⅝” drywall on the ceiling and ½” mold defense drywall for the walls.
Measure Twice, Cut Once
First thing is first, you’ve gotta figure out what size piece you’re hanging. The first piece is most likely a full-sheet. But as you move on you’ll have different measurements.
You always want to “break” on the stud. What this means is both ends of your drywall piece needs to be secured to a stud. So, most studs will share two pieces of drywall: the end of one piece of drywall and the beginning of another piece of drywall. This is called a butt-joint!
To determine the size of your drywall piece measure from the middle of one stud to the middle of another stud.
Stud. Butt-joints. Construction has fun words.
Ok, focusing…
When it comes time to cut the sheet to size use a drywall T-Square and a utility knife. It’s as easy as scoring it and hitting it. This will break the sheet of drywall. Then, cut the unwanted piece and toss to the side.
Finally, before you hang, clean up that cut by using your rasp!
OK! Now You Can Hang!
We recommend screwing the drywall in rather than nailing–it might be more expensive, but it gives you a smoother and stronger finish and will almost guarantee you no nail pops down the road!
Remember those butt-joints from earlier? The end of one piece of drywall and the beginning of another piece of drywall? Here’s where they come into play.
You always want to “break” on the stud. What this means is both ends of your drywall piece need to be attached to a stud. So, most studs will share two pieces of drywall.
Also, am I twelve?….Why do I love saying butt-joint?!????
Butt-joints should be the last things you screw when affixing the drywall to the stud. Screw the field in first and then when both pieces are nestled perfectly on a stud then screw them down. If you don’t do it this way, the middle section of the drywall sheet could “blow out”.
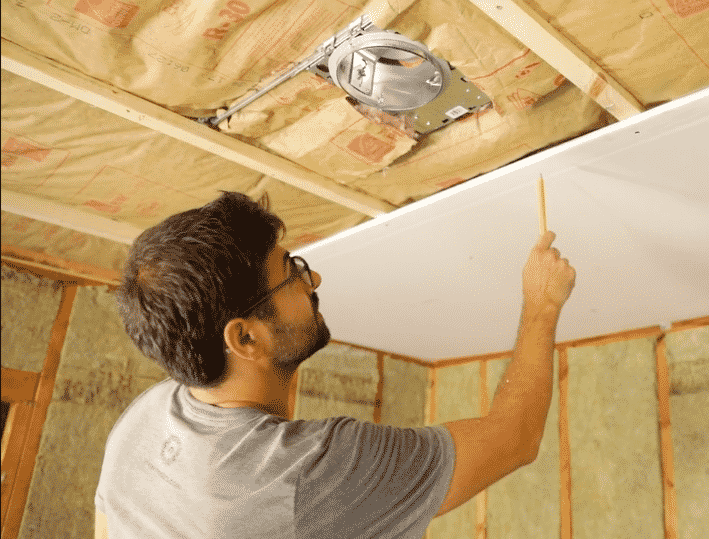
If you run into lights in your ceiling don’t fret! You just want to mark where those lights are as you install–that way, you can find them easily when it’s time to cut them out of the drywall. It’s probably easier to understand this by watching the video but if you have a stud or another piece of drywall adjacent to the area you’re working in draw an arrow directing you to the center of the light box. Then measure from that point to the center of the light box. You’ll now be able to find your starting point for the cut out when the box is covered with your hung drywall. Nick loves using a RotoZip to get this job done!
Pro Tip: While not required, most jobs go more smoothly when you have a beautiful assistant???

Step 3: Install the Walls
Compared to the ceiling, the walls are a breeze! ½” drywall is SO much lighter!
Before you get started with the walls, make sure you aren’t covering up any outlets.If you’re working in new construction, the electrician will probably wait to install the outlets until the drywall is up and just leave you with the box. But, if you already have your outlets in place, no worries here either.
FIRST! TURN OFF THE POWER AT THE BREAKER. Safety first!

Then unscrew the outlet if it’s screwed in place. Gently pull the outlet slightly out of the box and tilt it forward. Measure where this outlet box will fall on your drywall and cut it out with your drywall knife. Bring the piece of drywall up to the wall, feed the outlet through your hole and, as Nick would say, Bada Bam! You might need to use your RotoZip here to get a clean finish.
One last wall hanging tip, get yourself a drywall lifter. (Nick calls it a kicker.) This will help you create a tight seam between the top and bottom layers of your wall.
Also, if you want to be both DIY and fly, you can purchase a “It’s not Dandruff it’s Drywall shirt here!
Stay Tuned
We’re not done! Get ready for part two of this garage makeover where we show you how to finish drywall. It’s part science and part art so stay tuned!

No Comments